4 minute read
Hosting on Amazon S3
Required expertise level : Intermediate
Platform : Any
Last tested and confirmed : January 2022
Amazon S3 (Amazon Simple Storage Service) is a data storage service and one of the Amazon Web Services (AWS)
S3 provides object storage service, which means that data is stored and addressed as objects, each object contains it’s own data in addition to meta-data and a unique identifier.
Object storage is often used to store big amounts of data that doesn’t need the features and structure of the file systems hierarchy.
The main advantage of using S3 to host our static mirror is the ability to serve a fully functional “static” web pages directly from Amazon S3 URLs which consists of [bucketname]+[endpoint] or [endpoint]/[bucketname] ex: mybucket.s3.us-east-2.amazonaws.com or https://s3.us-east-2.amazonaws.com/mybucket
Configure static site hosting on S3
Creating S3 bucket, and setting configurations for Static Site hosting
- First, you need to create an account on Amazon Web Services (AWS), and then, sign in to AWS Console.
 AWS login page
- In S3 management console, create a new bucket.
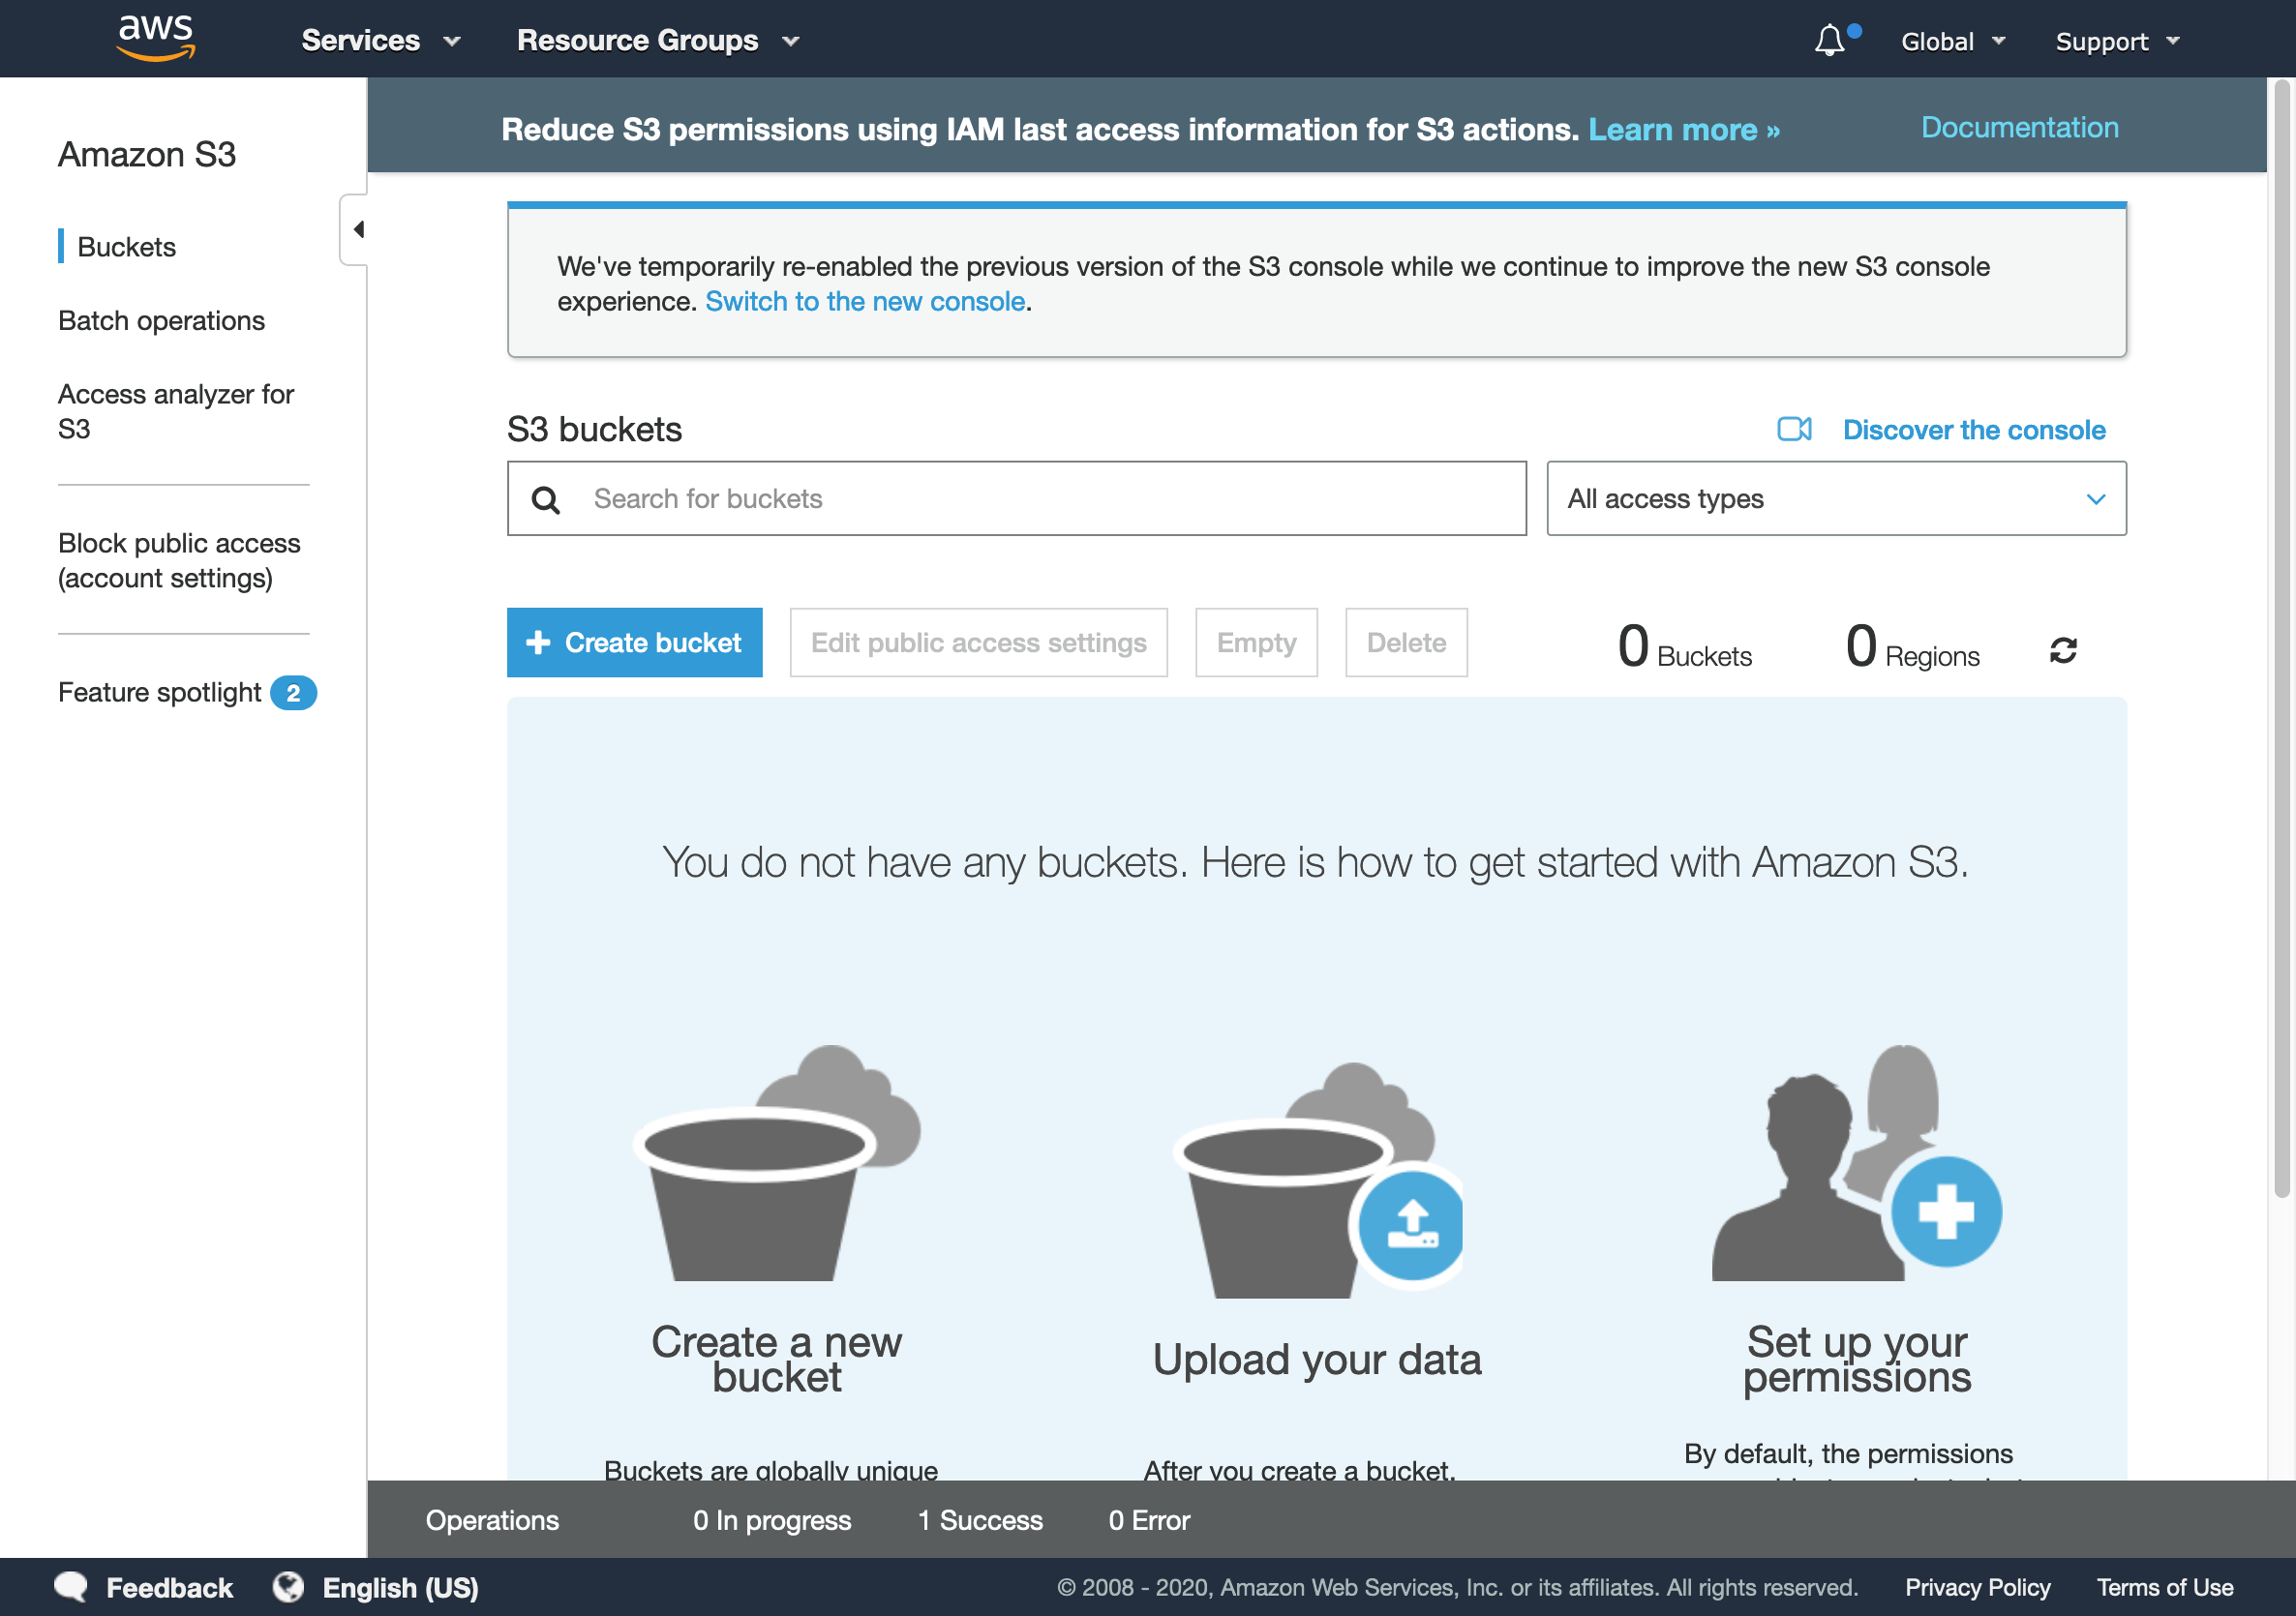 S3 management console
Note
You should pick a unique name for your bucket.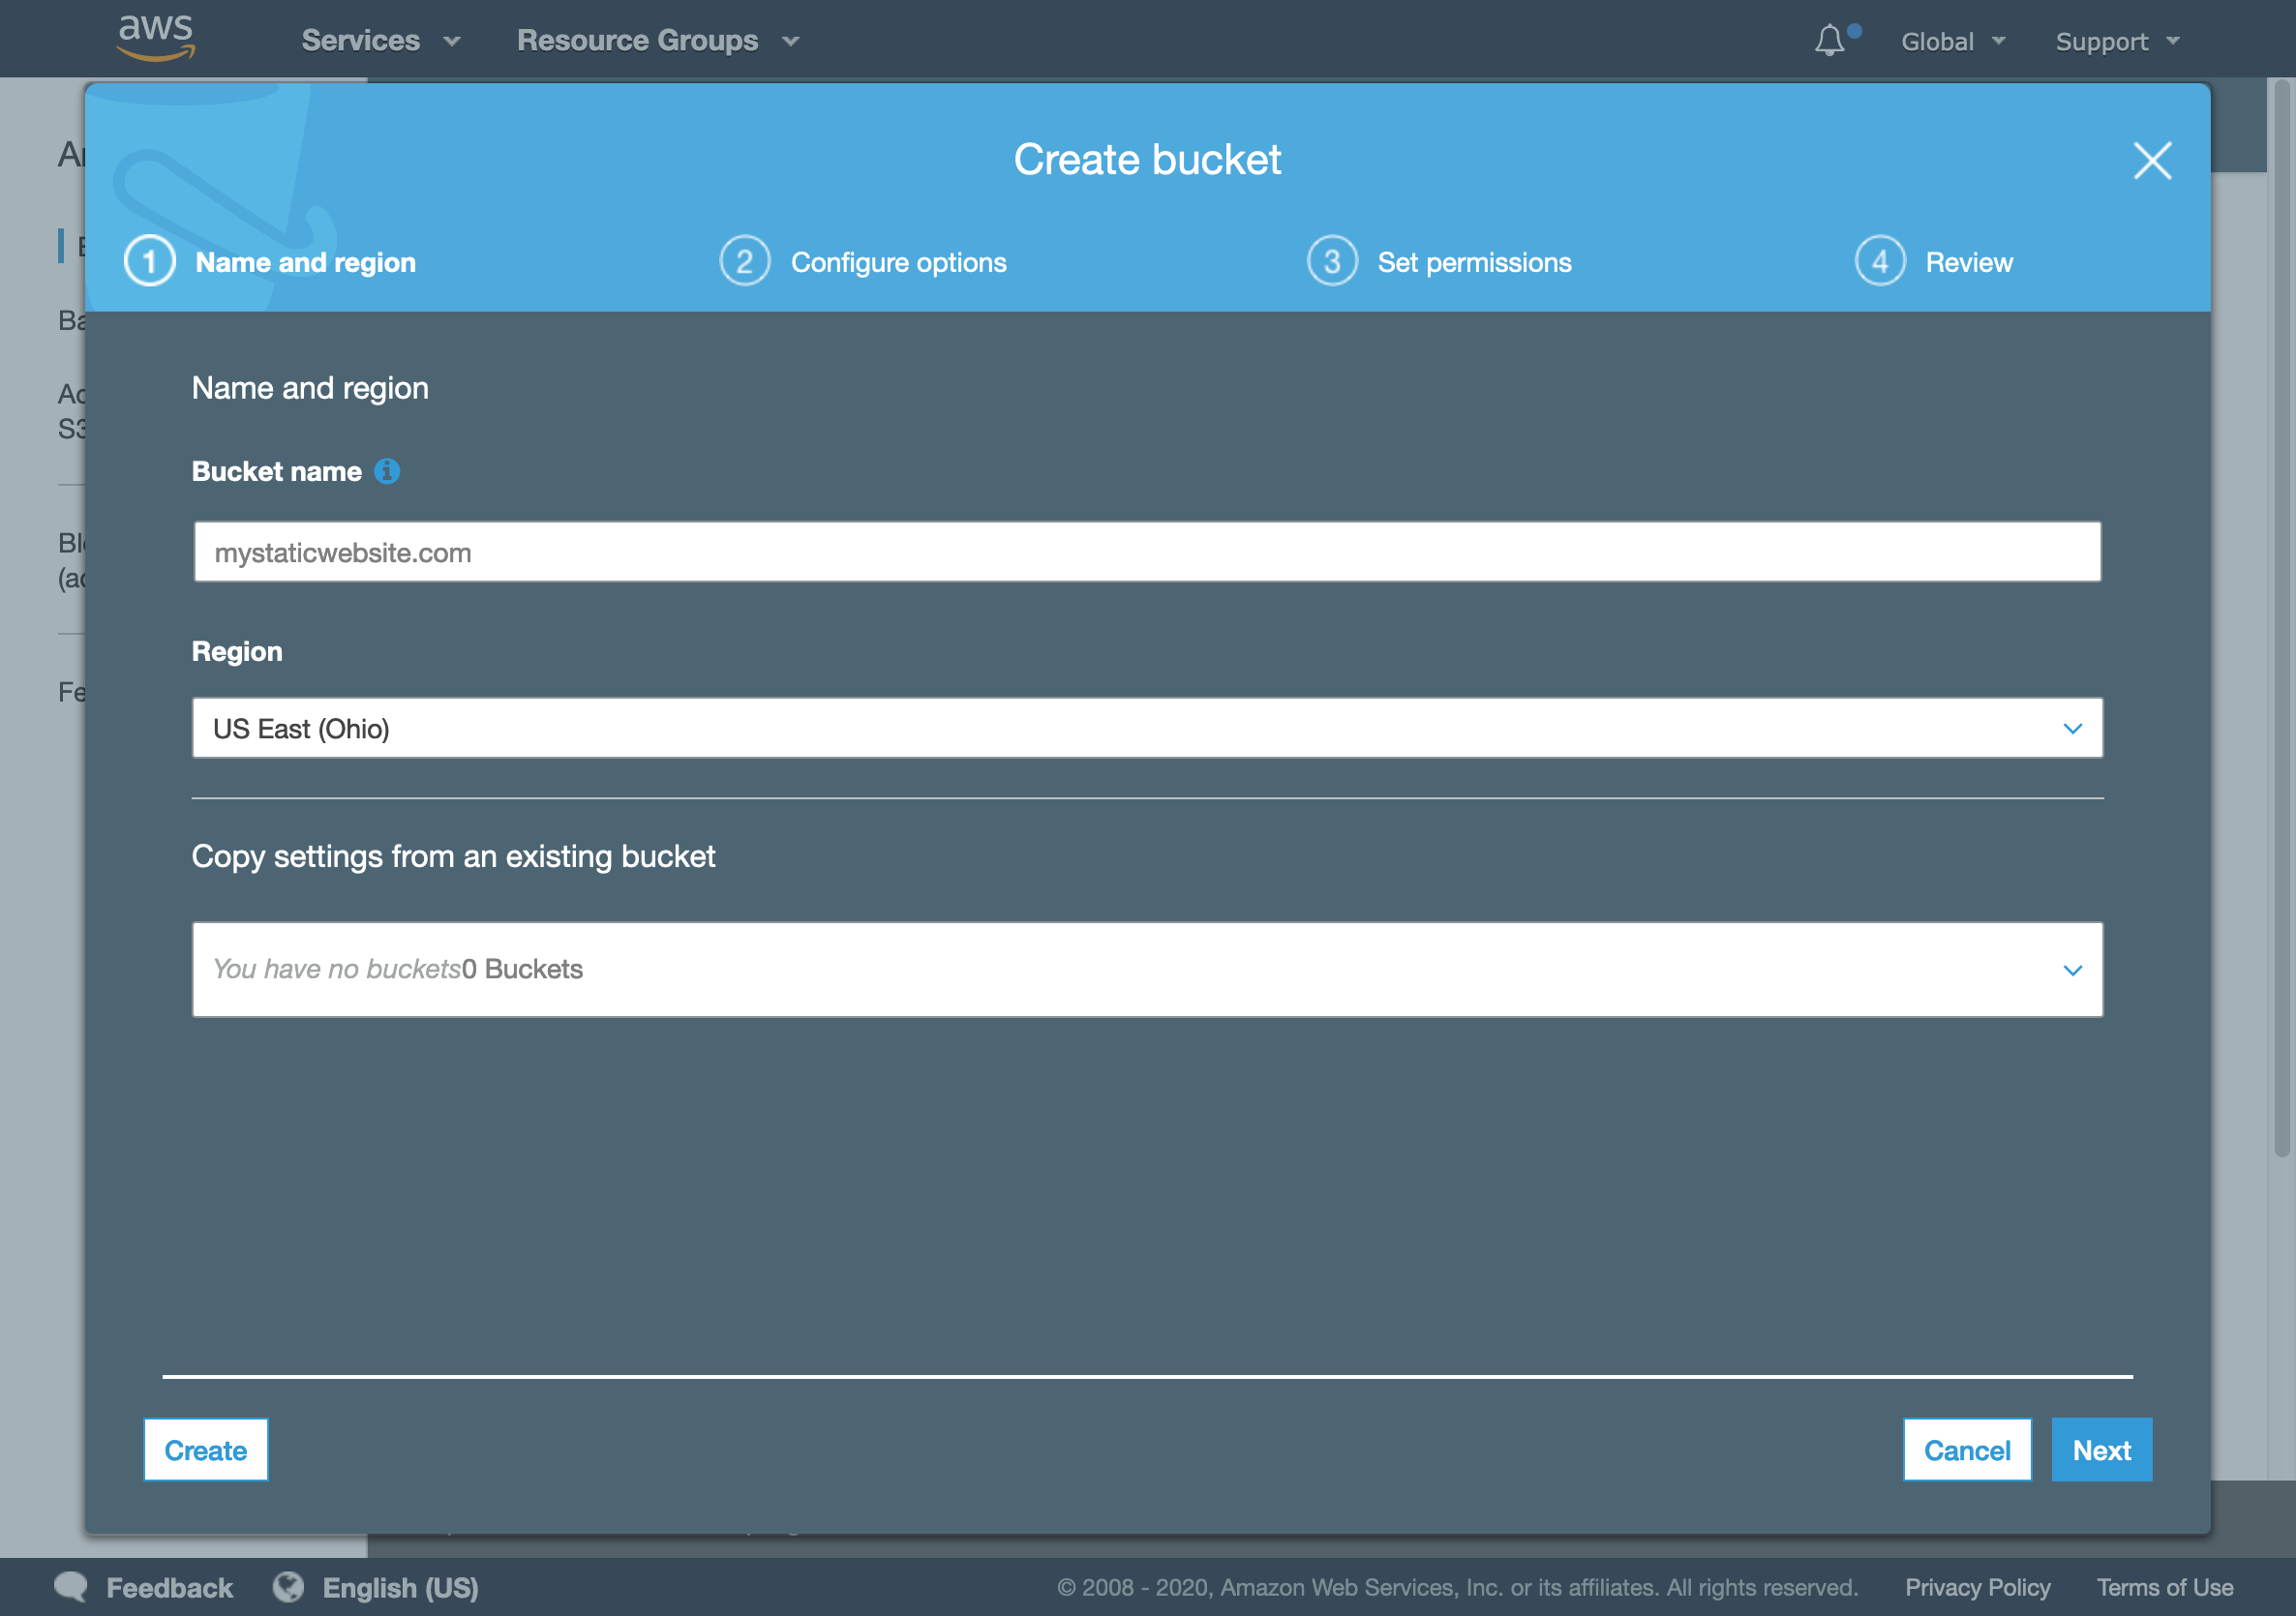 S3 new bucket
- In Set permissions tab, uncheck Block all public access, and confirm that you want to enable public access to the bucket.
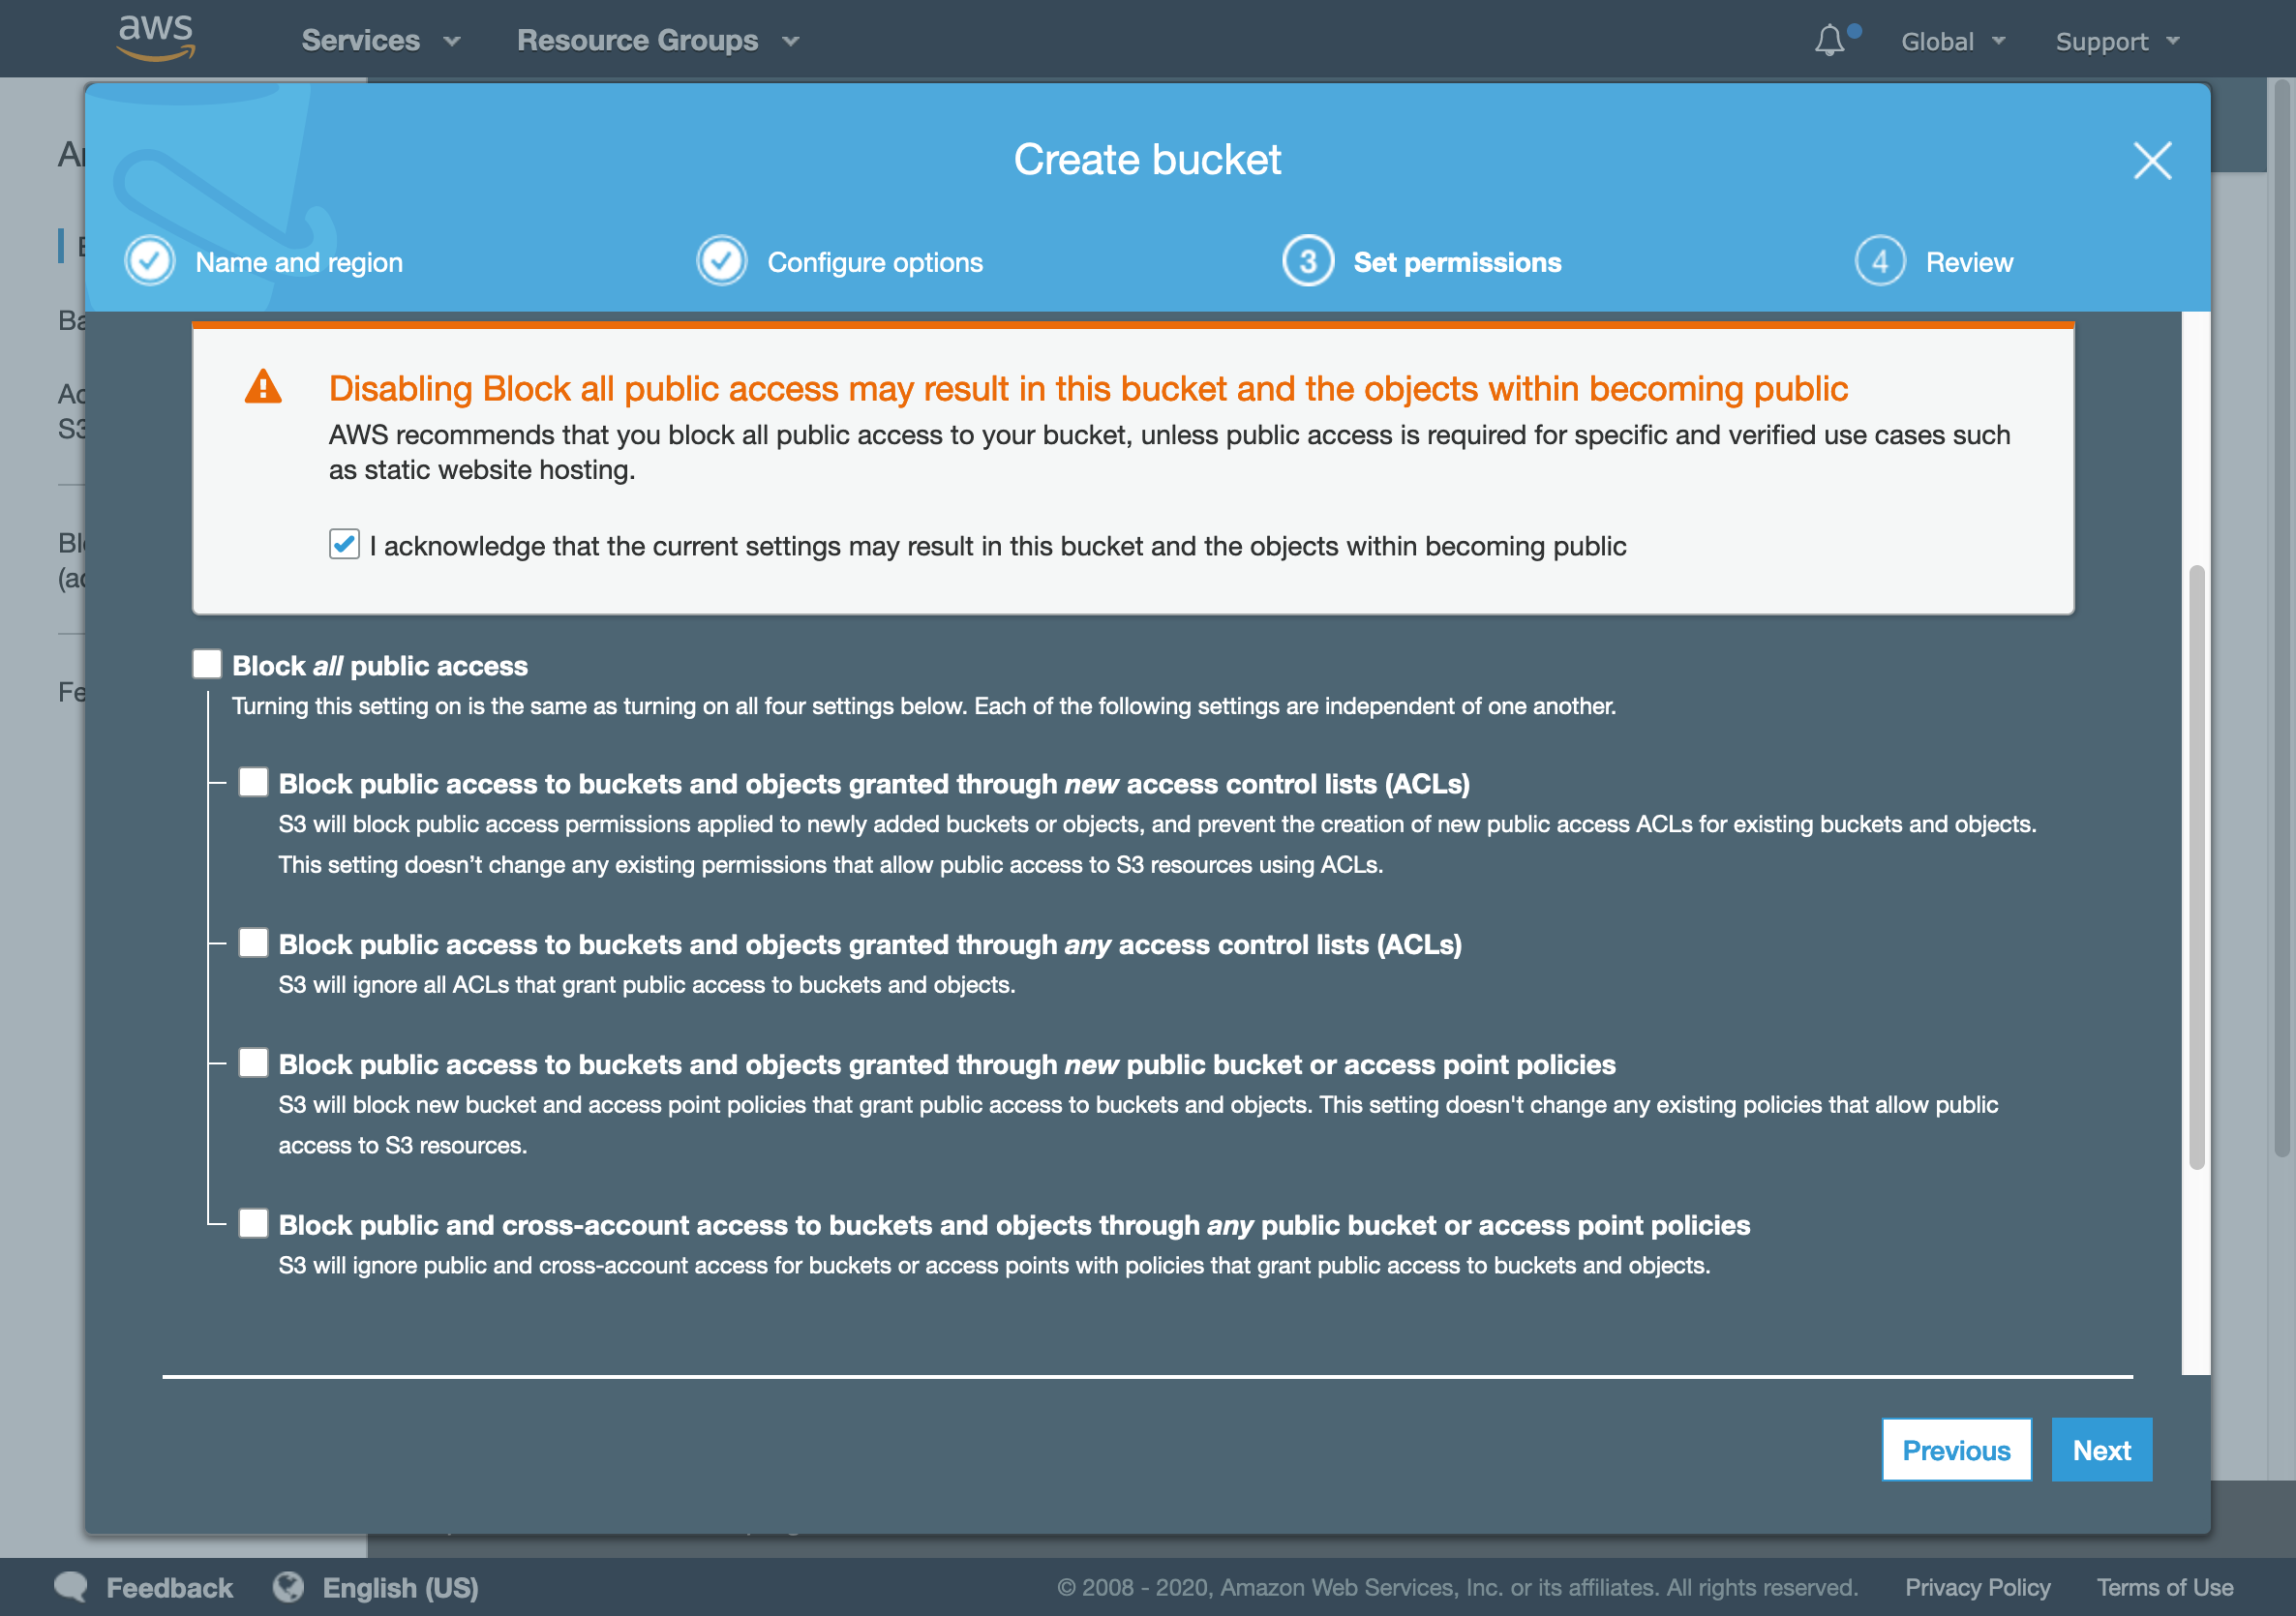 Bucket permission tab
- Finally, review your options and create the new bucket.
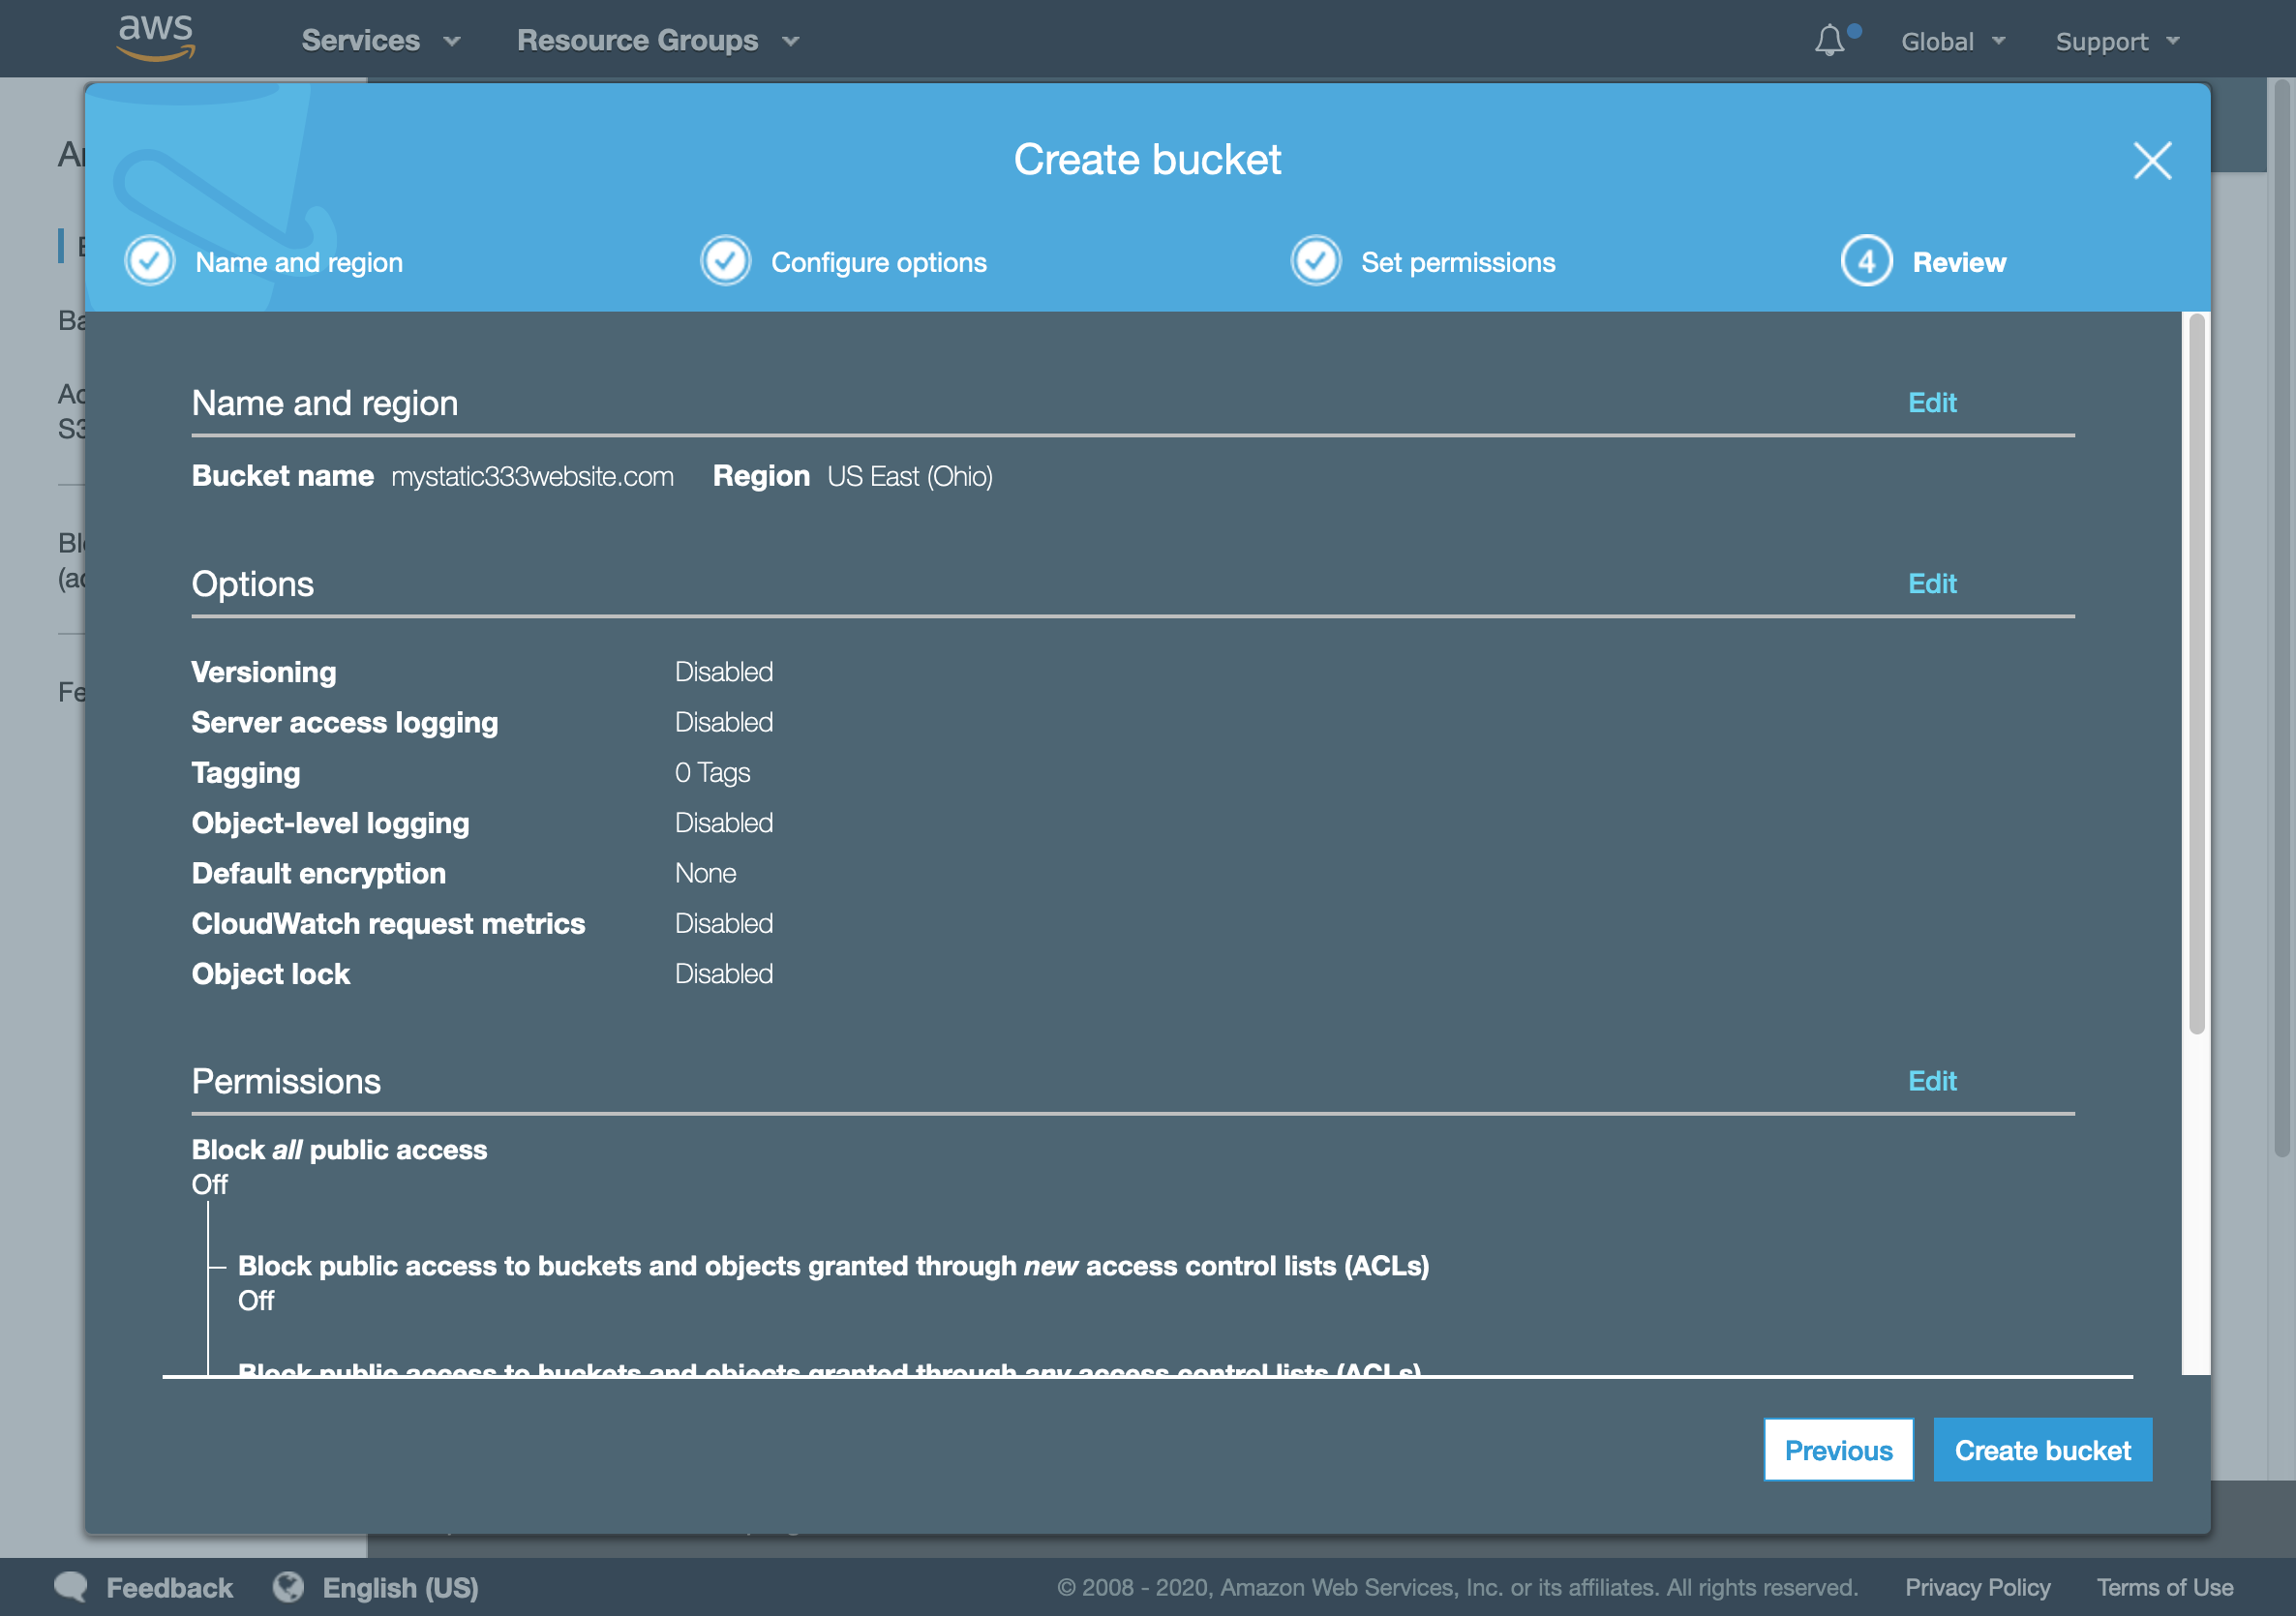 Create bucket
- Your newly created bucket should appear in this form.
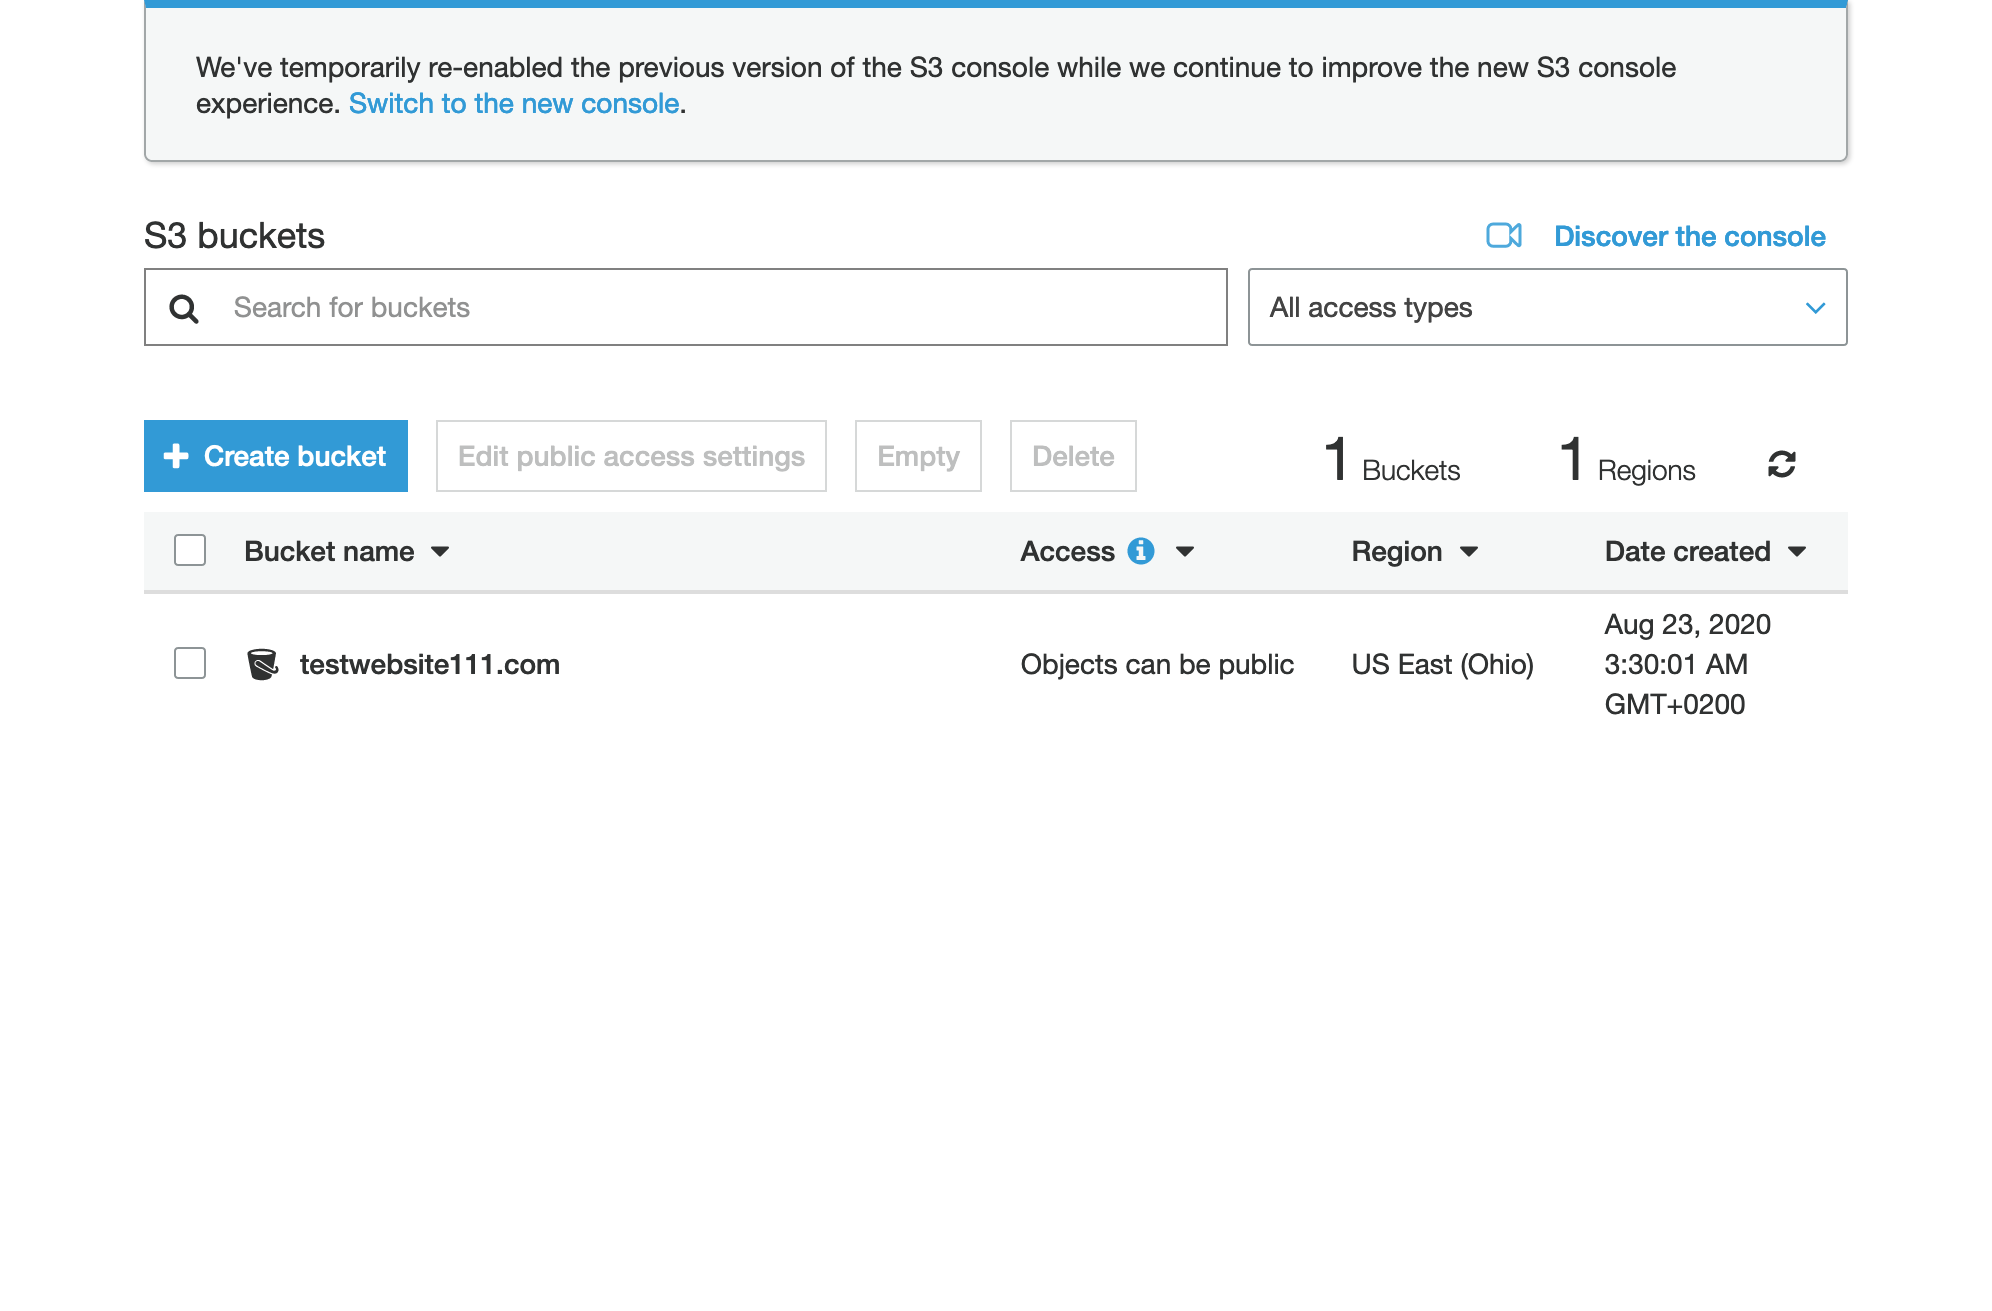
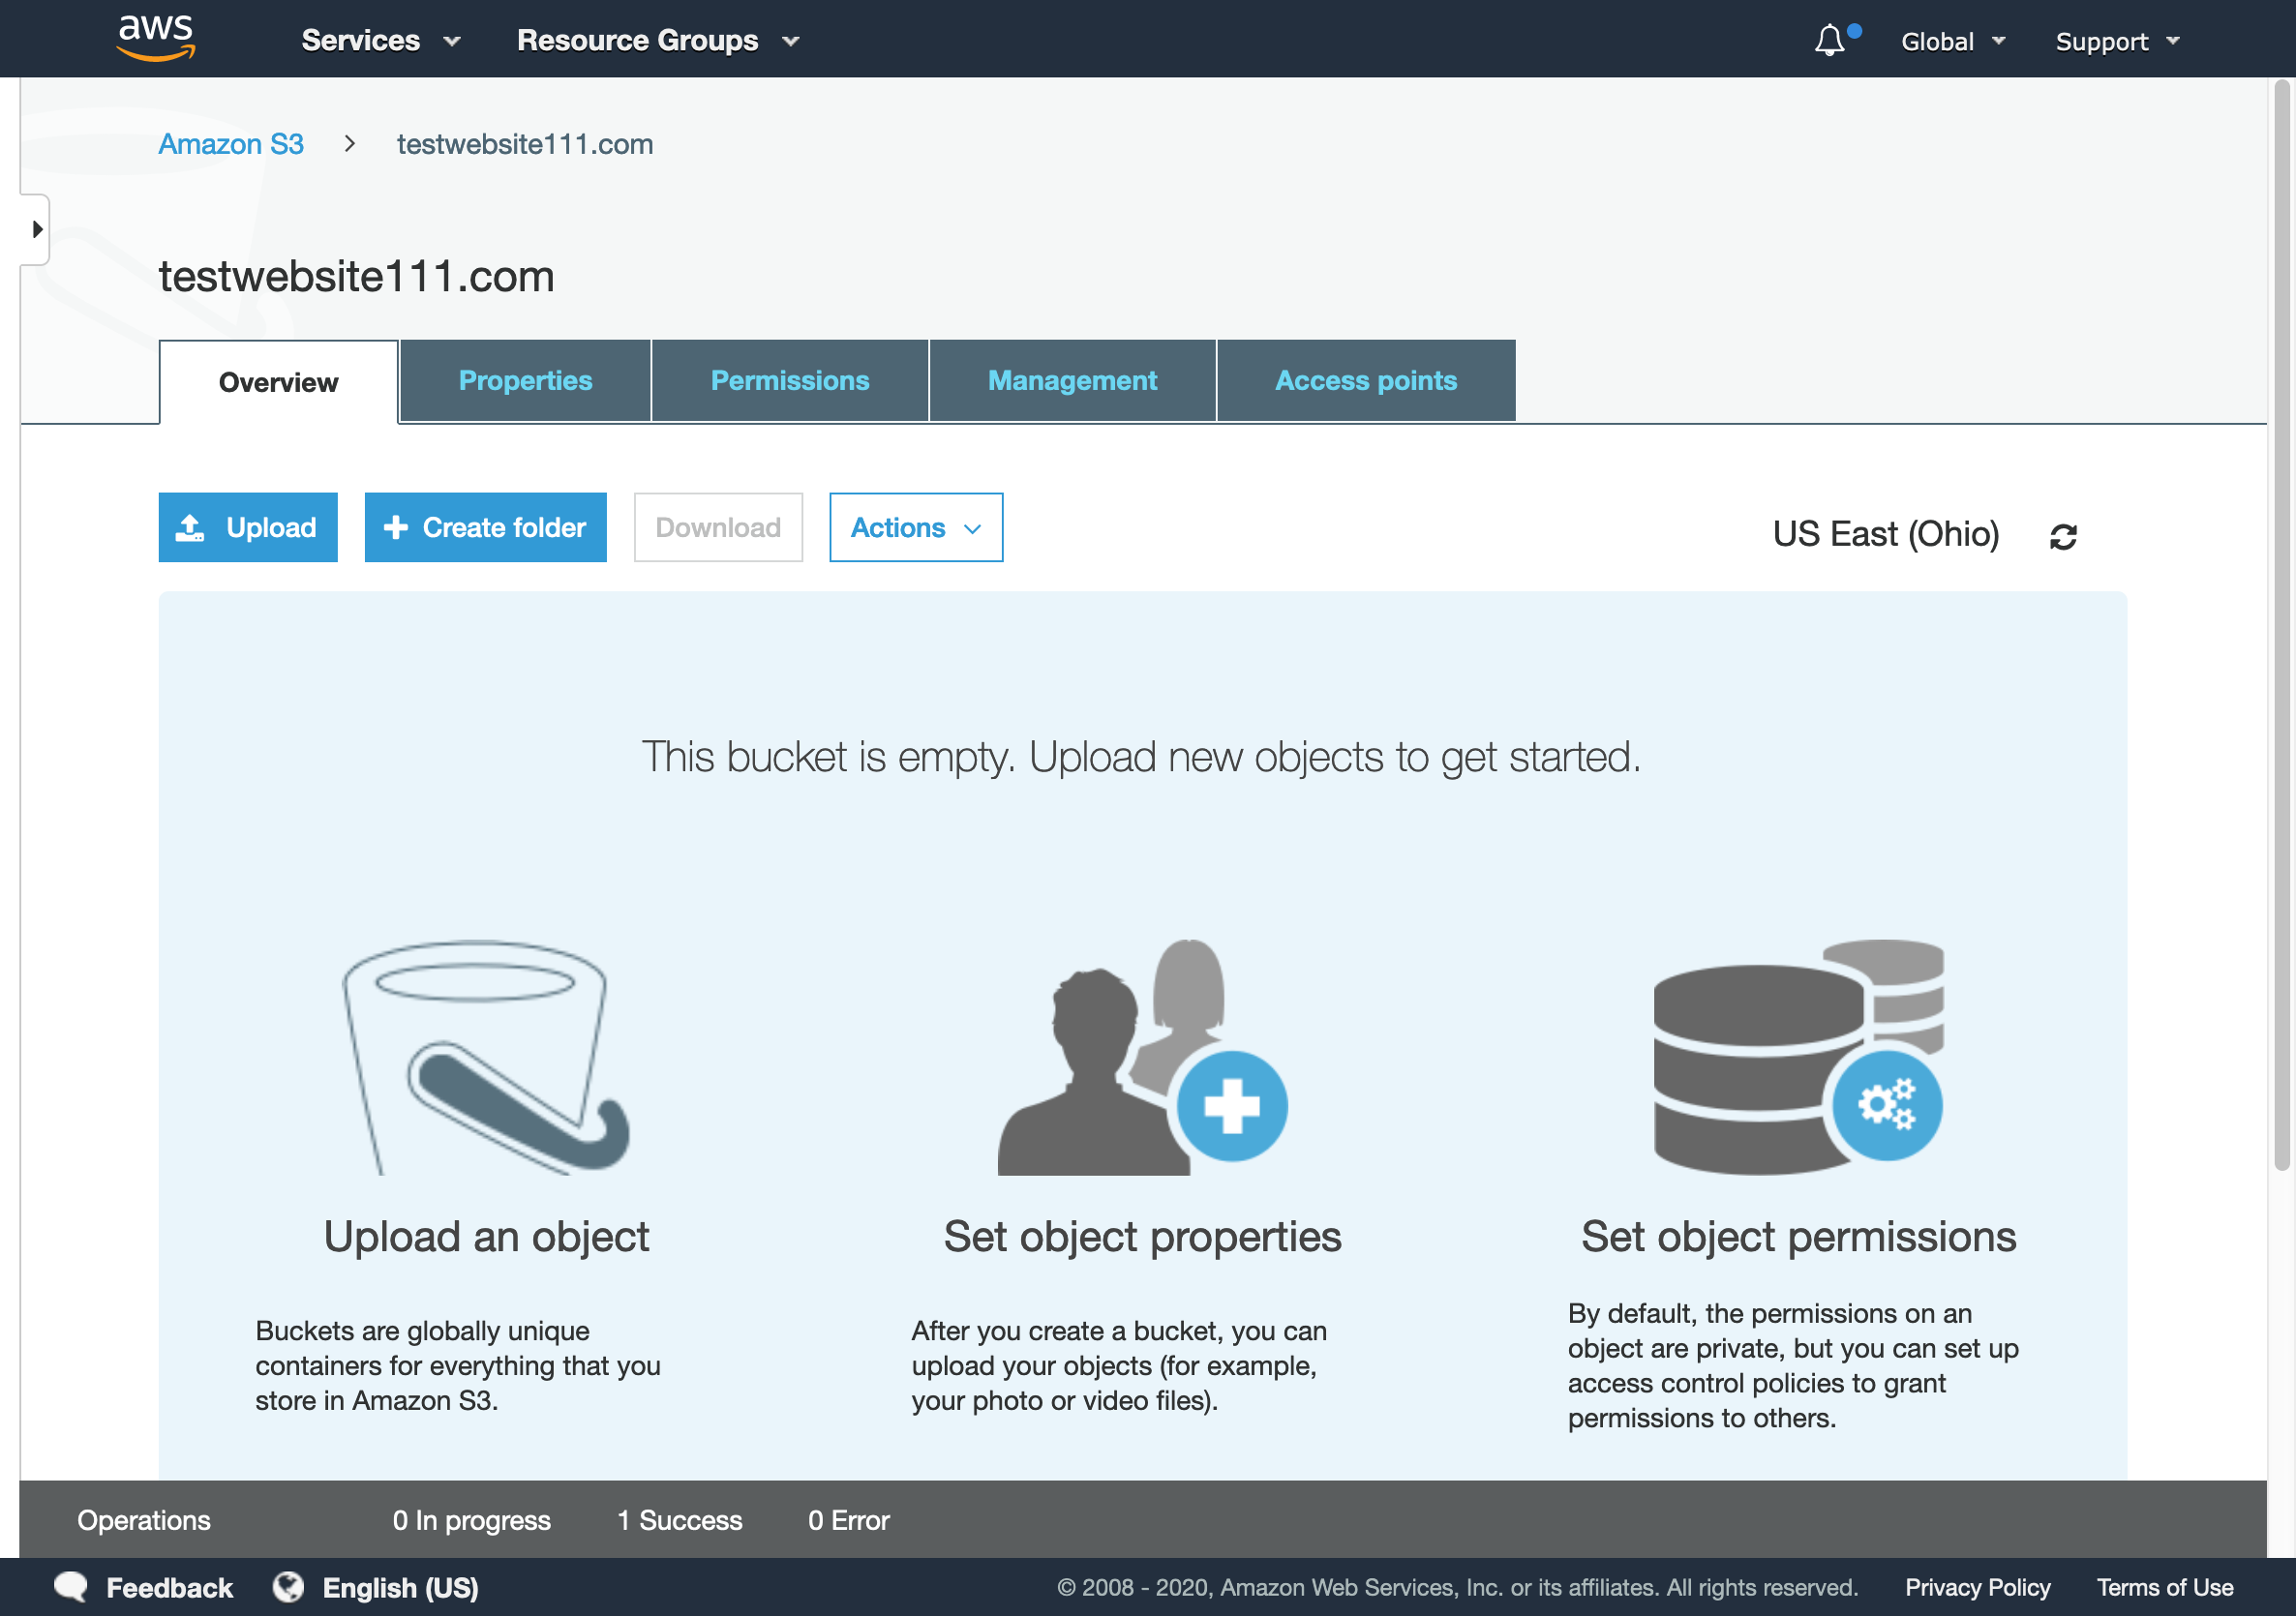
- Head to the new bucket’s settings by clicking on the bucket name.
 S3 bucket settings
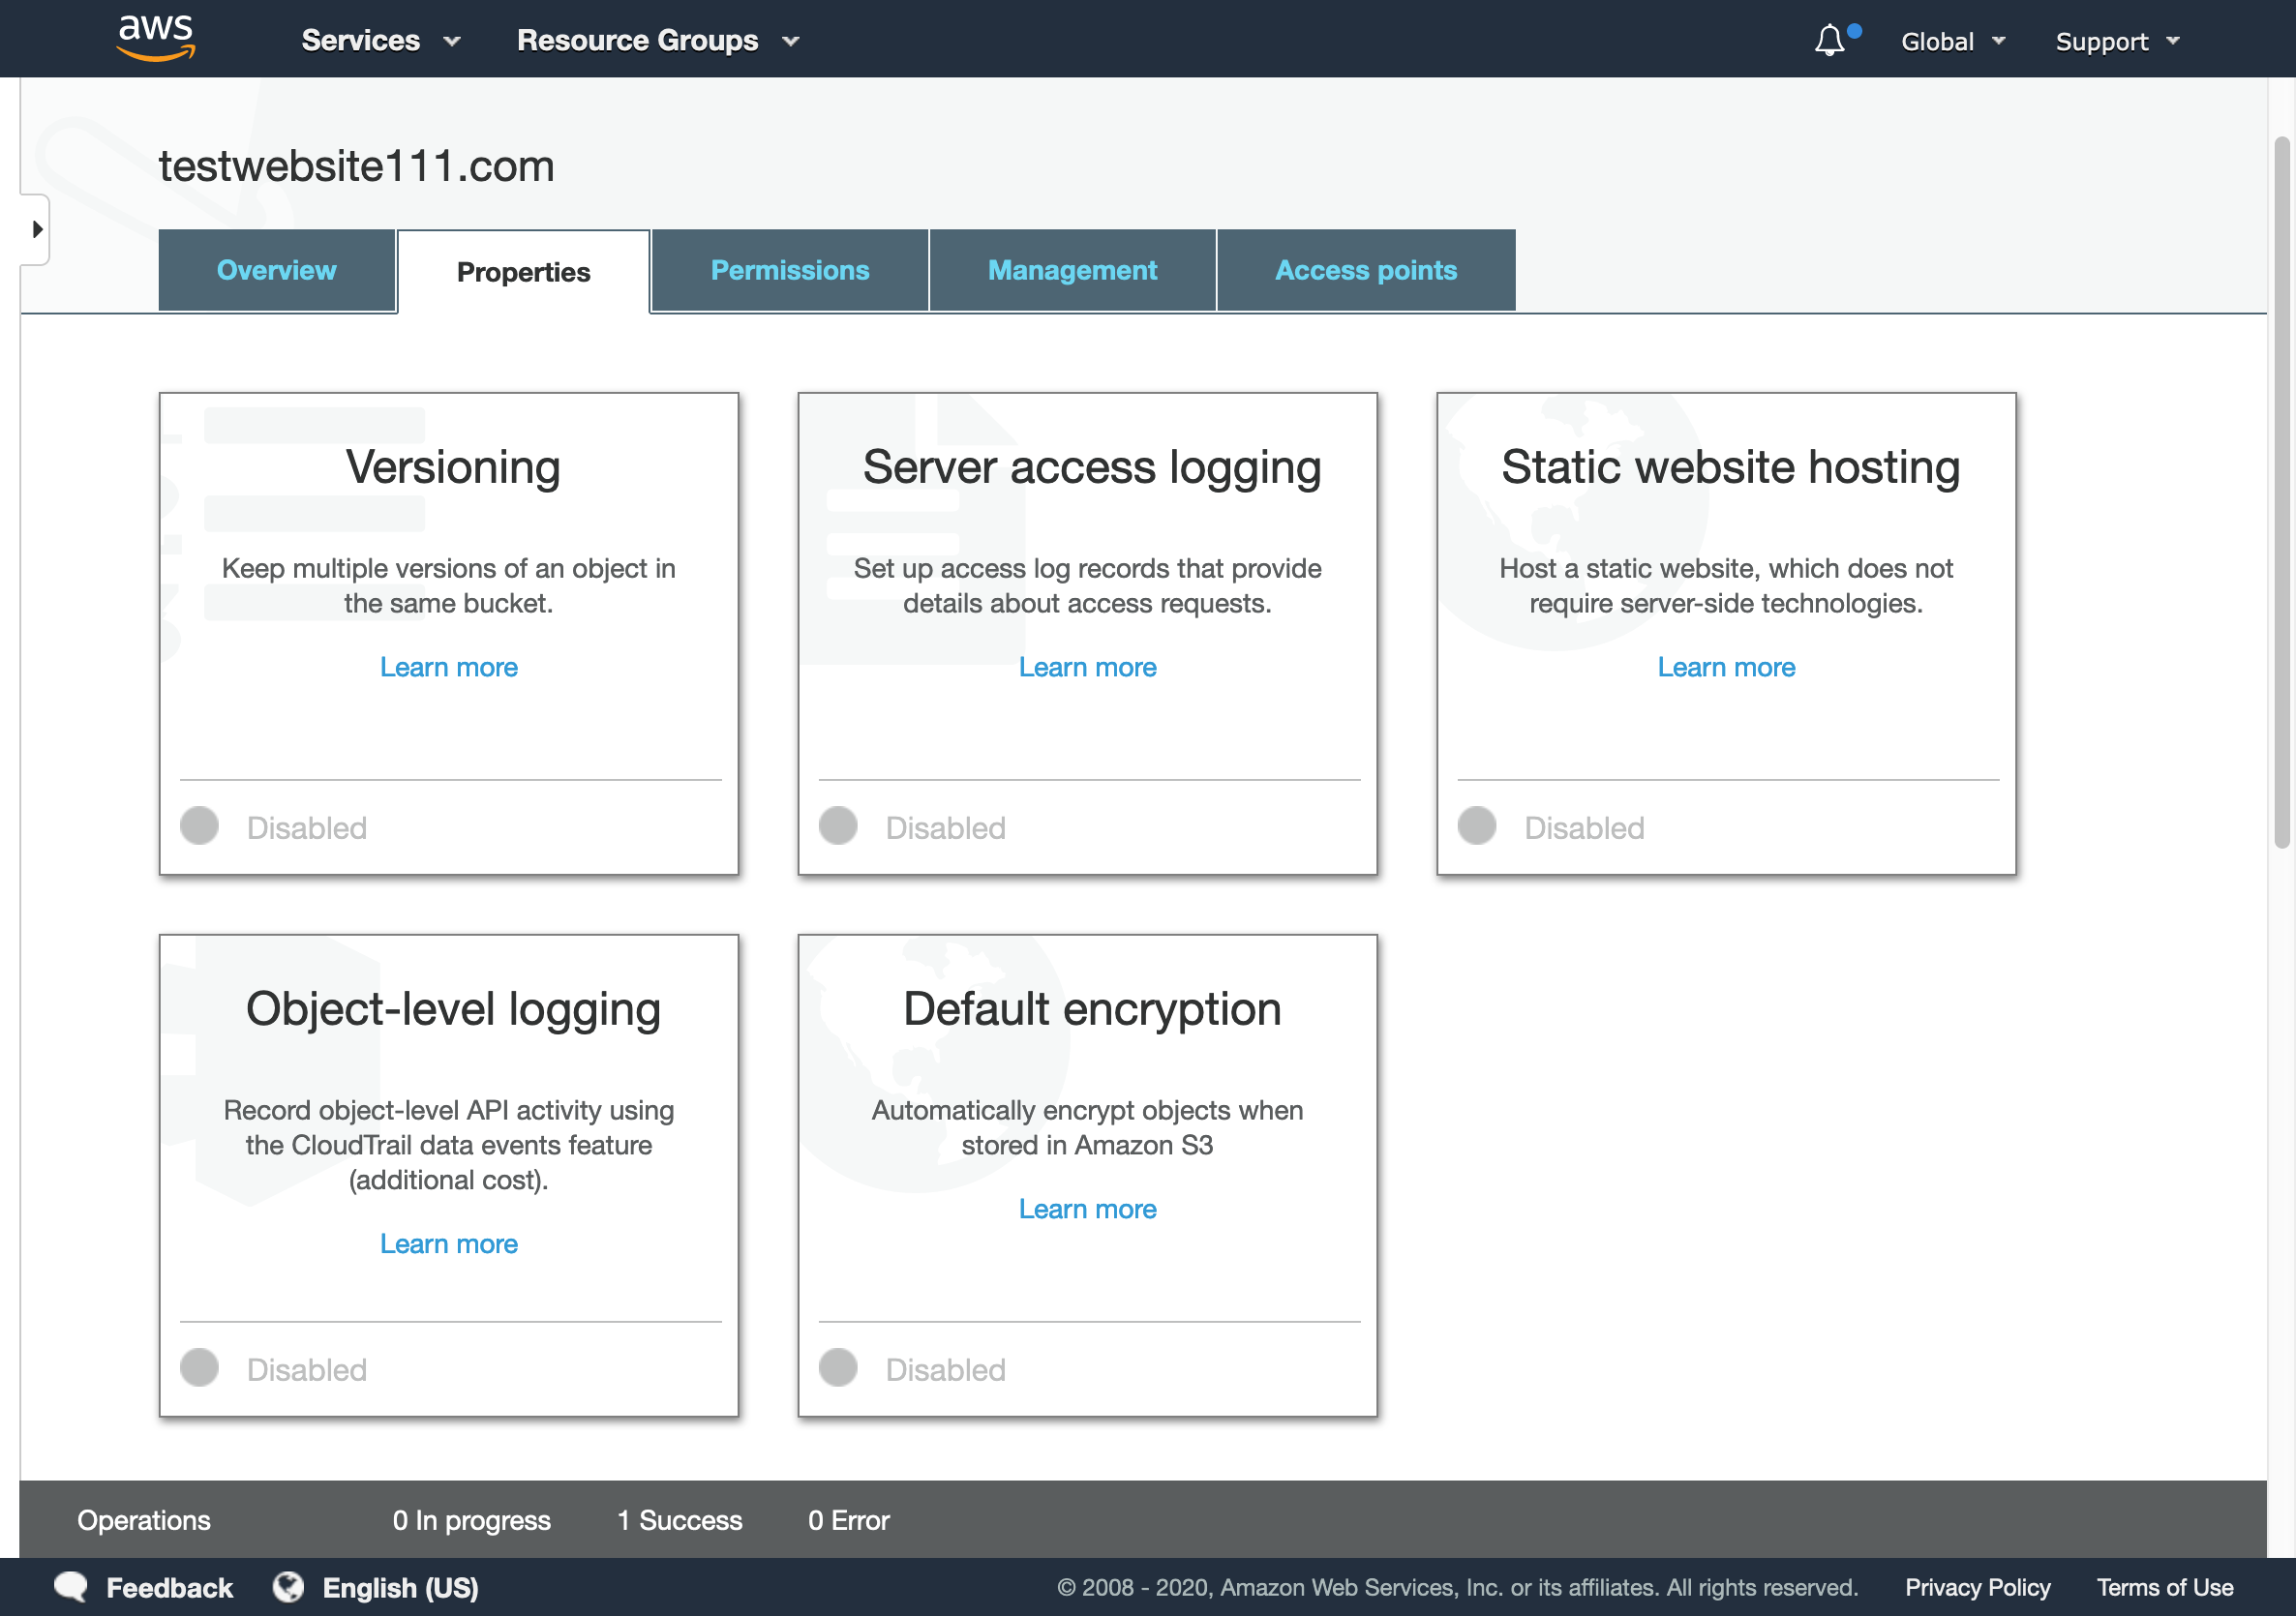
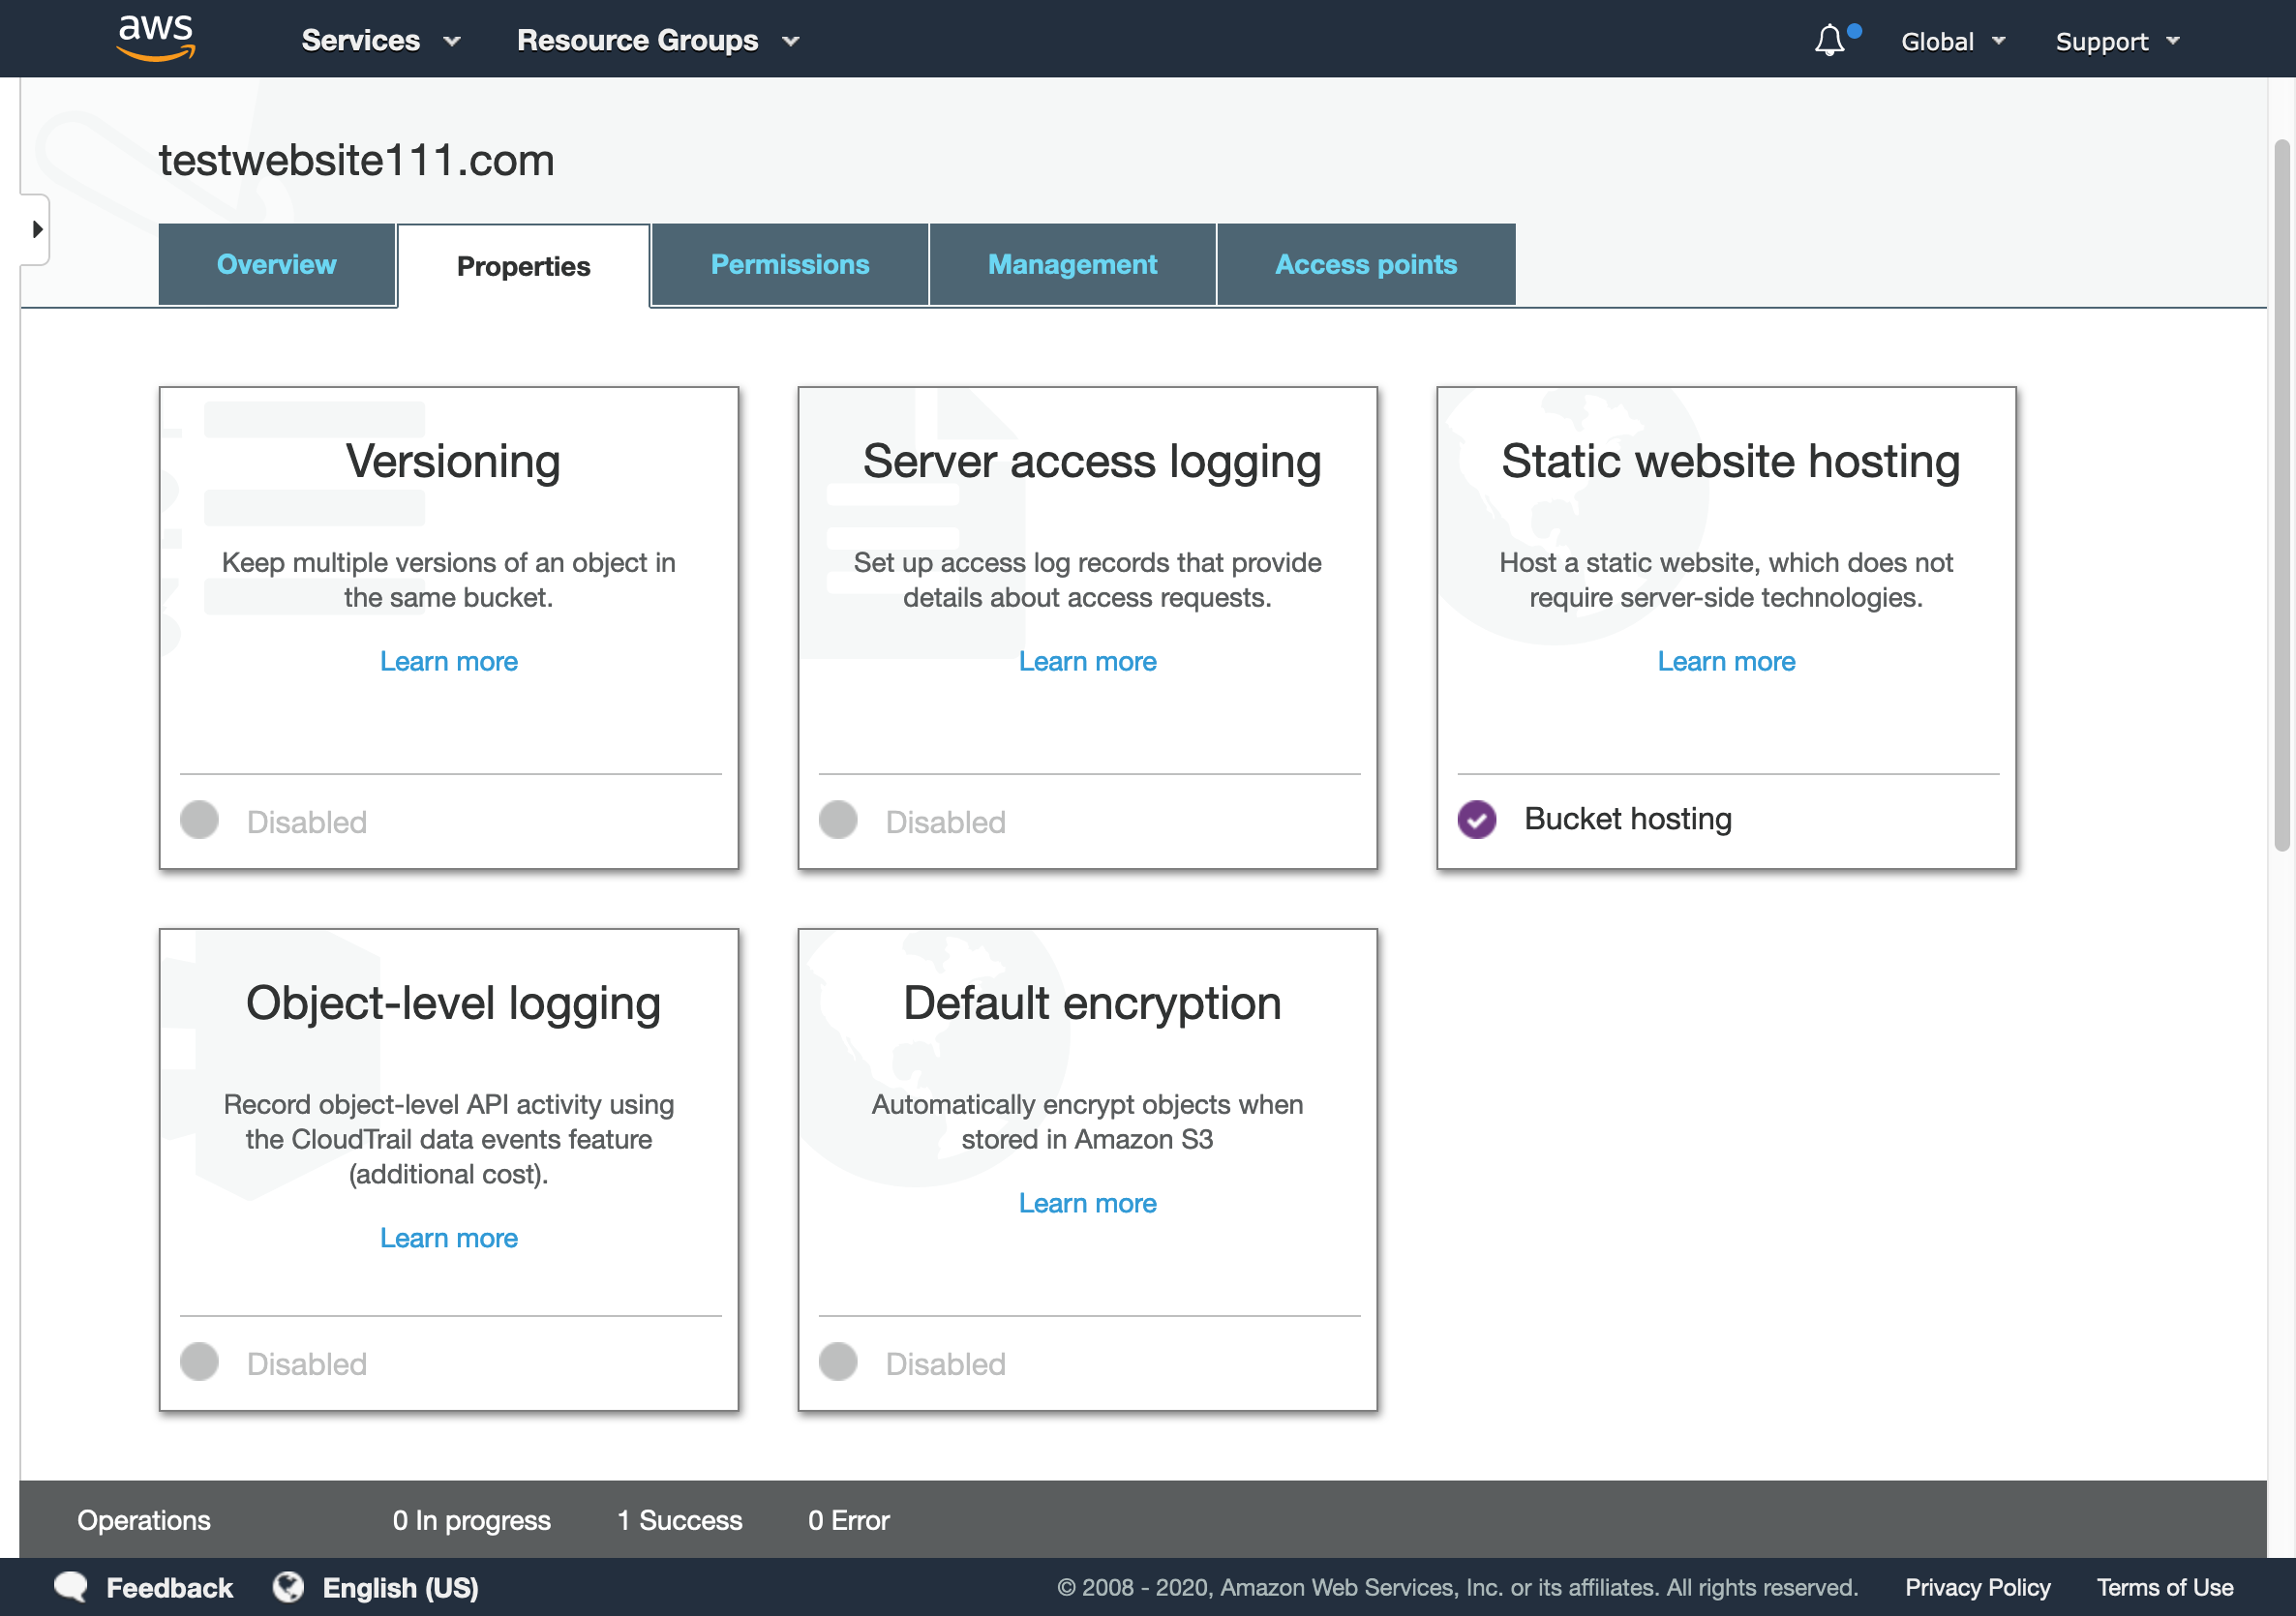
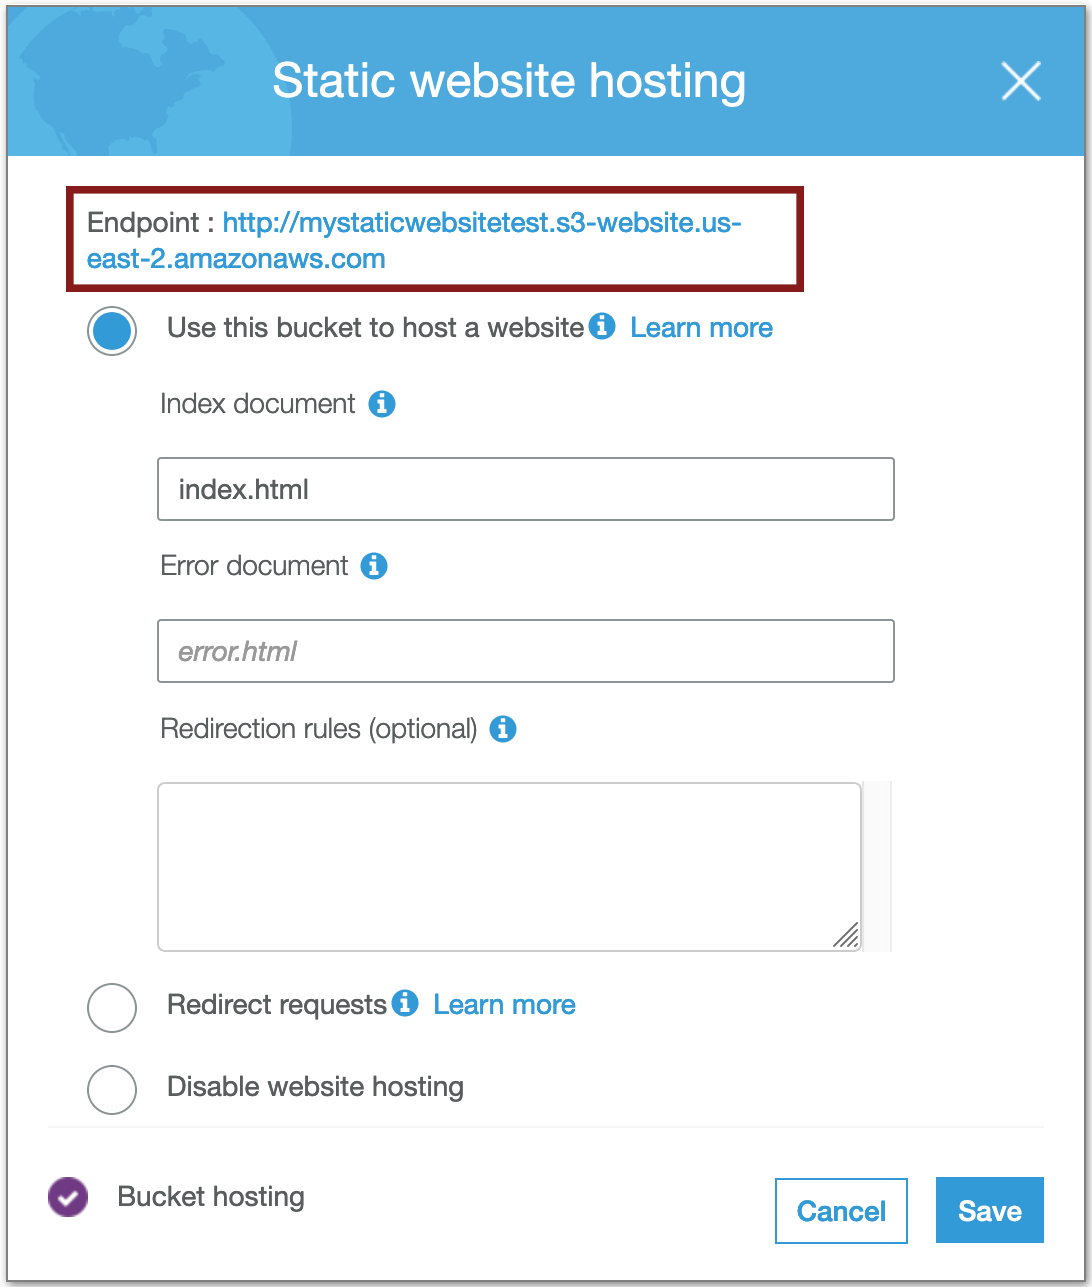
- In Properties tab click on Static website hosting
 S3 bucket Properties
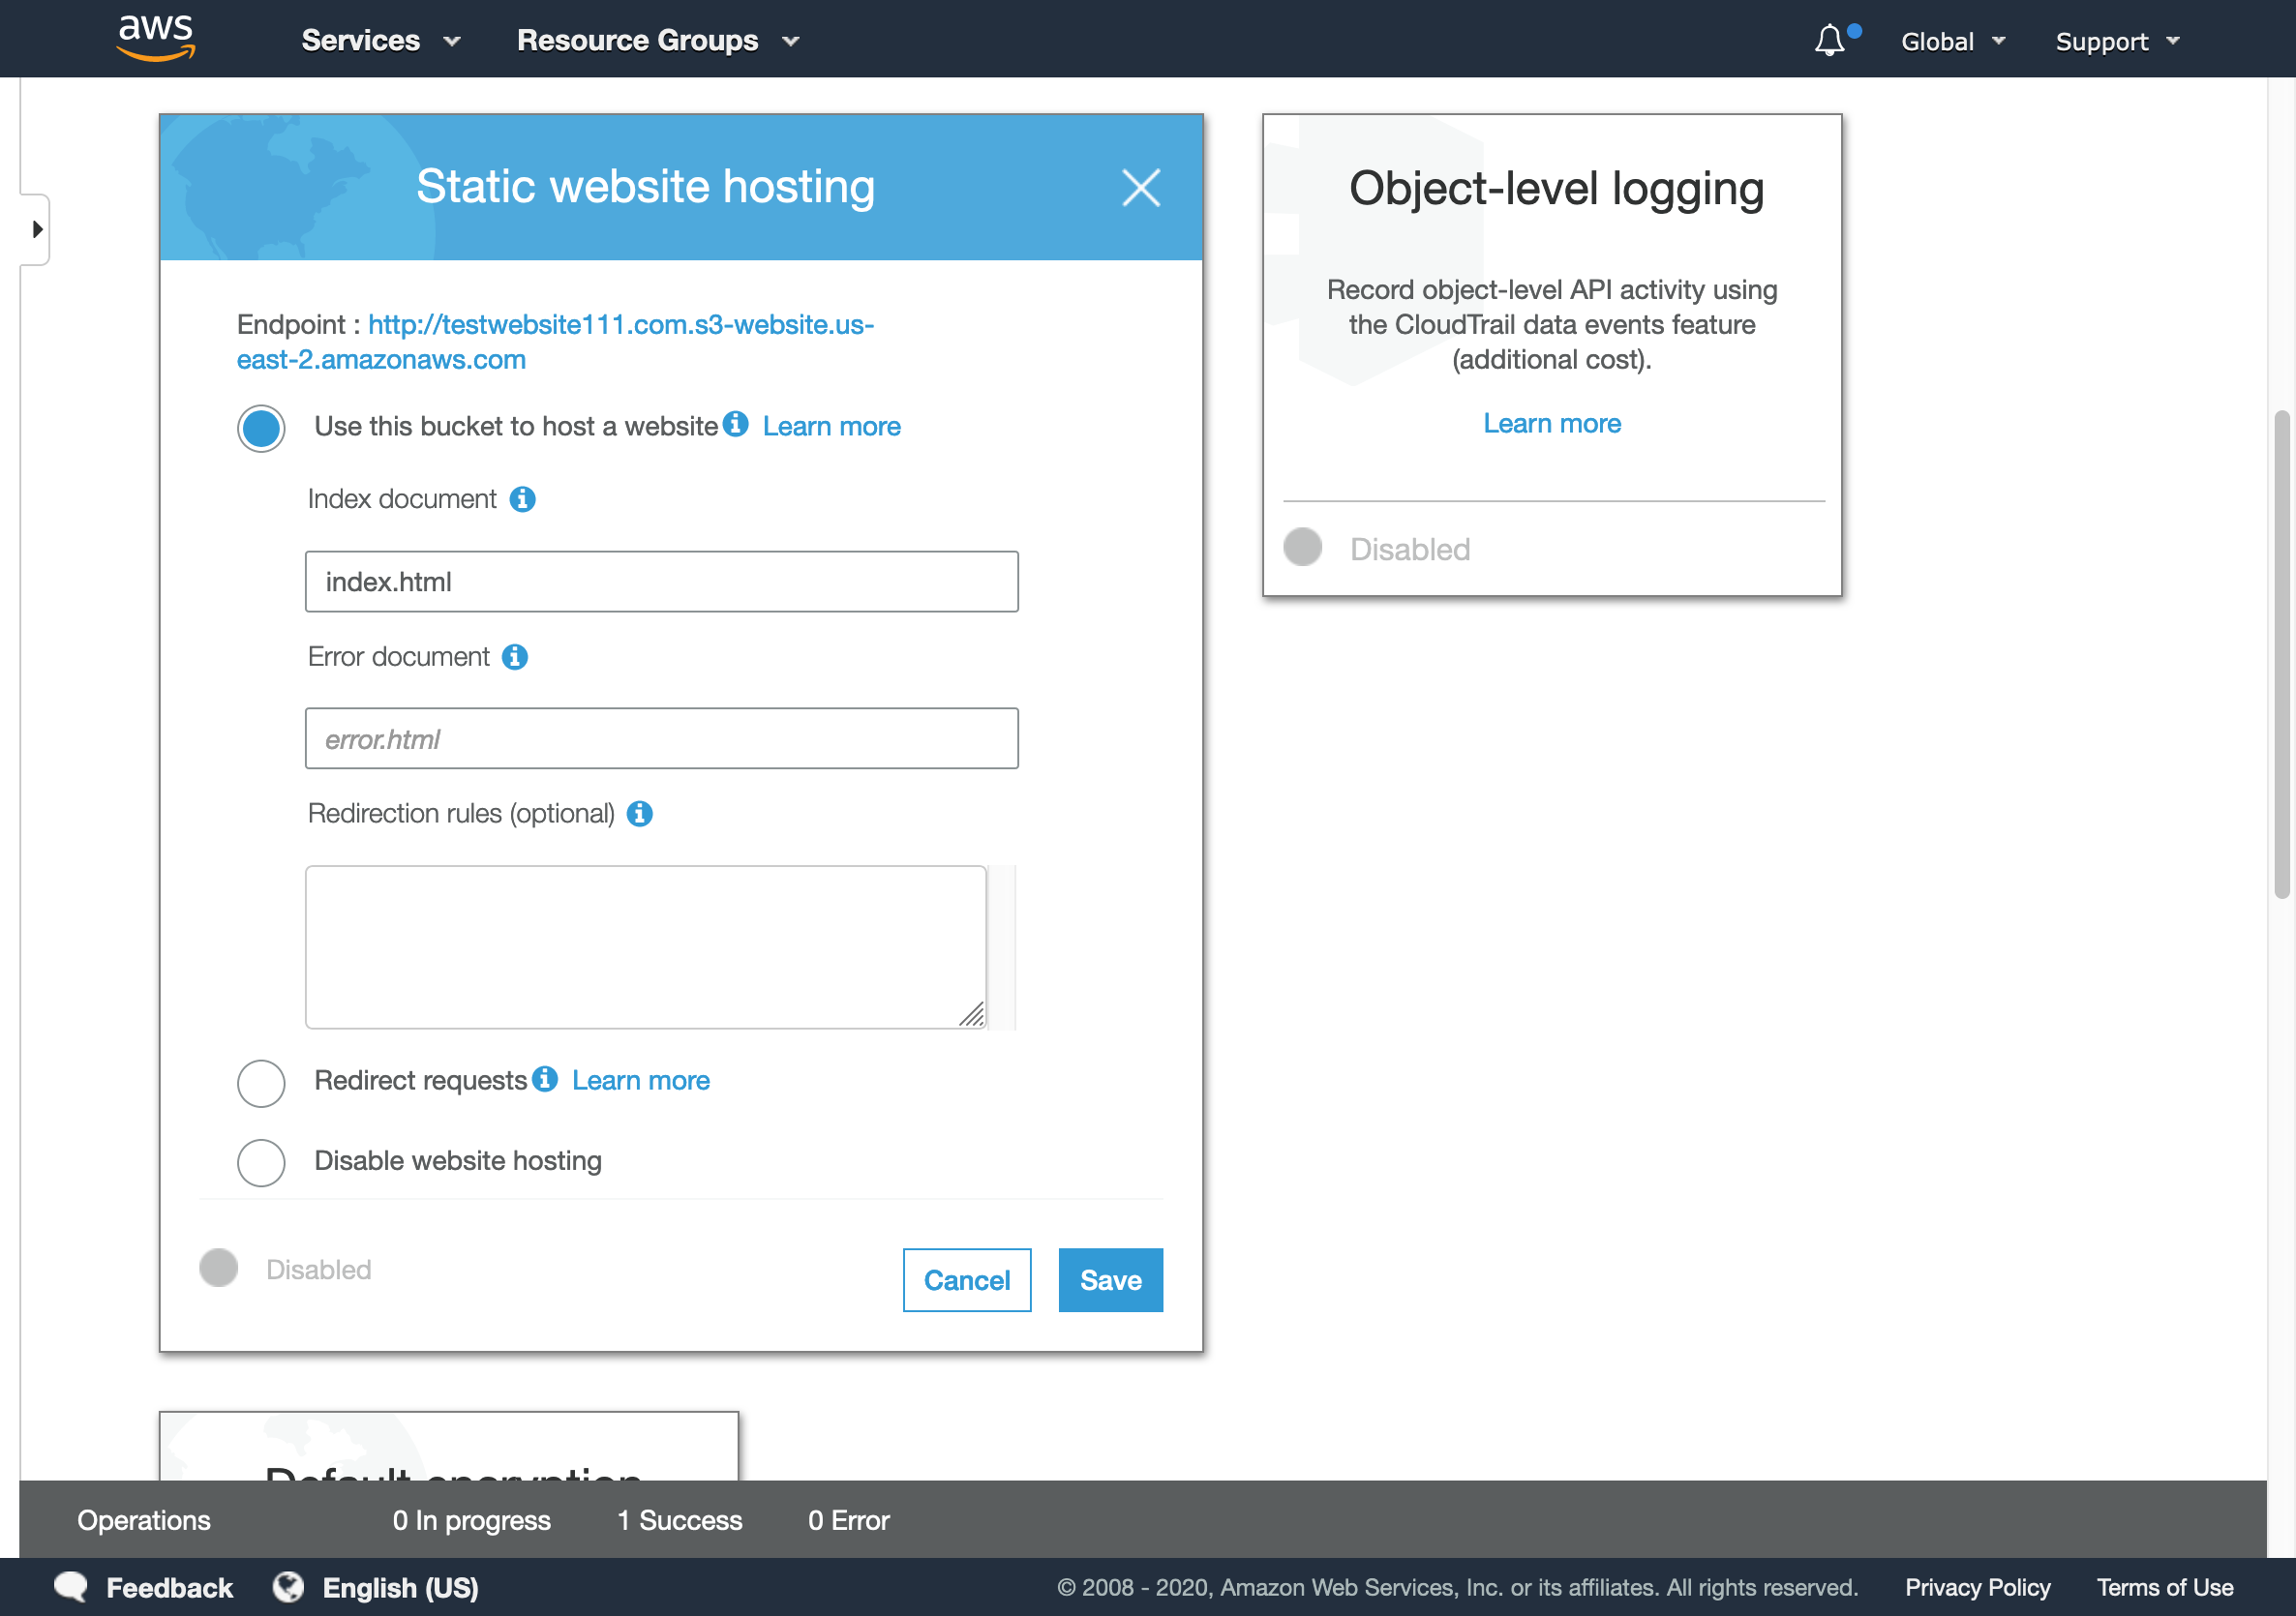
- After setting Use this bucket to host a website, you need to set the path for your
index.html(main page), optionally you can set a customerror.htmlpage, and click save.
 S3 Static website hosting
 S3 enabled Static website hosting
- Head to Permissions tab, and click on Bucket Policy.
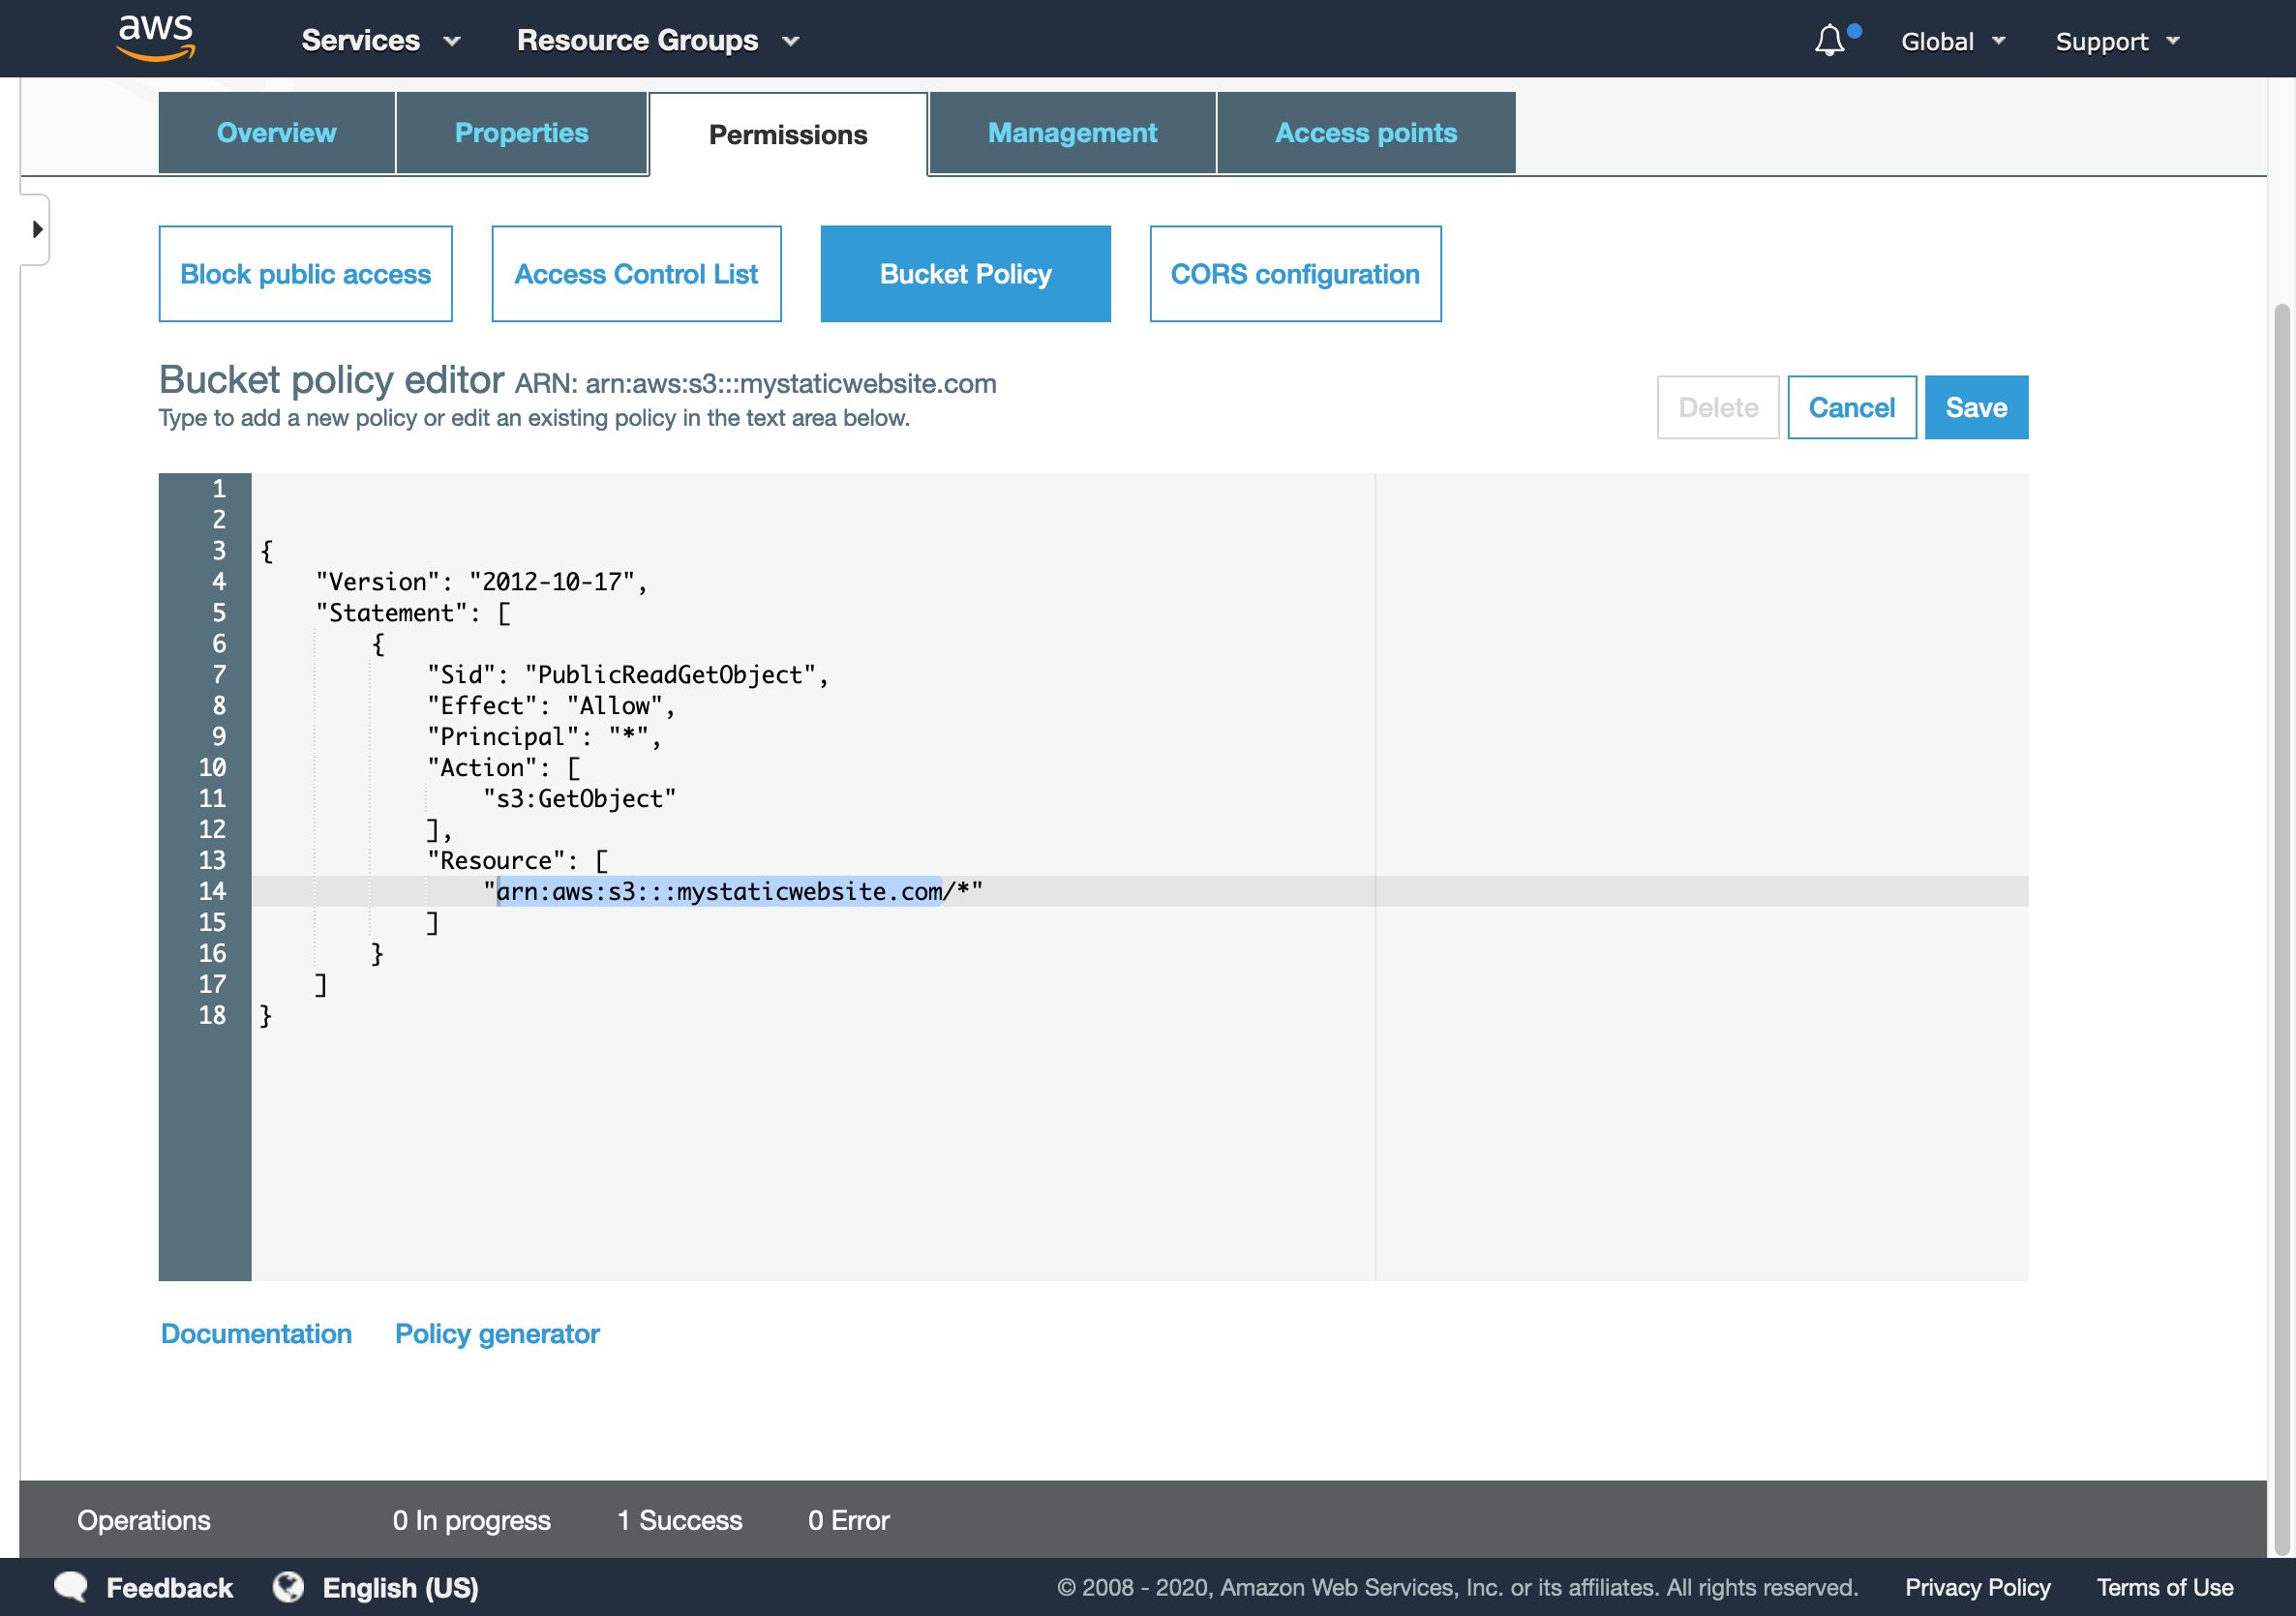 S3 bucket policy
- The simplest form of static website hosting policy on S3 should look like this.
{
    "Version": "2012-10-17",
    "Statement": [
        {
            "Sid": "PublicReadGetObject",
            "Effect": "Allow",
            "Principal": "*",
            "Action": [
                "s3:GetObject"
            ],
            "Resource": [
                "arn:aws:s3:::example.com/*"
            ]
        }
    ]
}
Note
In this example bucket policyexample.com is the bucket name. To use this policy example you need to replace example.com with your newly created bucket name in the "Resources" key value.
Now, we are ready to upload our static mirror to our S3 bucket.
Upload using the Web user interface
- You will find the upload option in the bucket settings page.
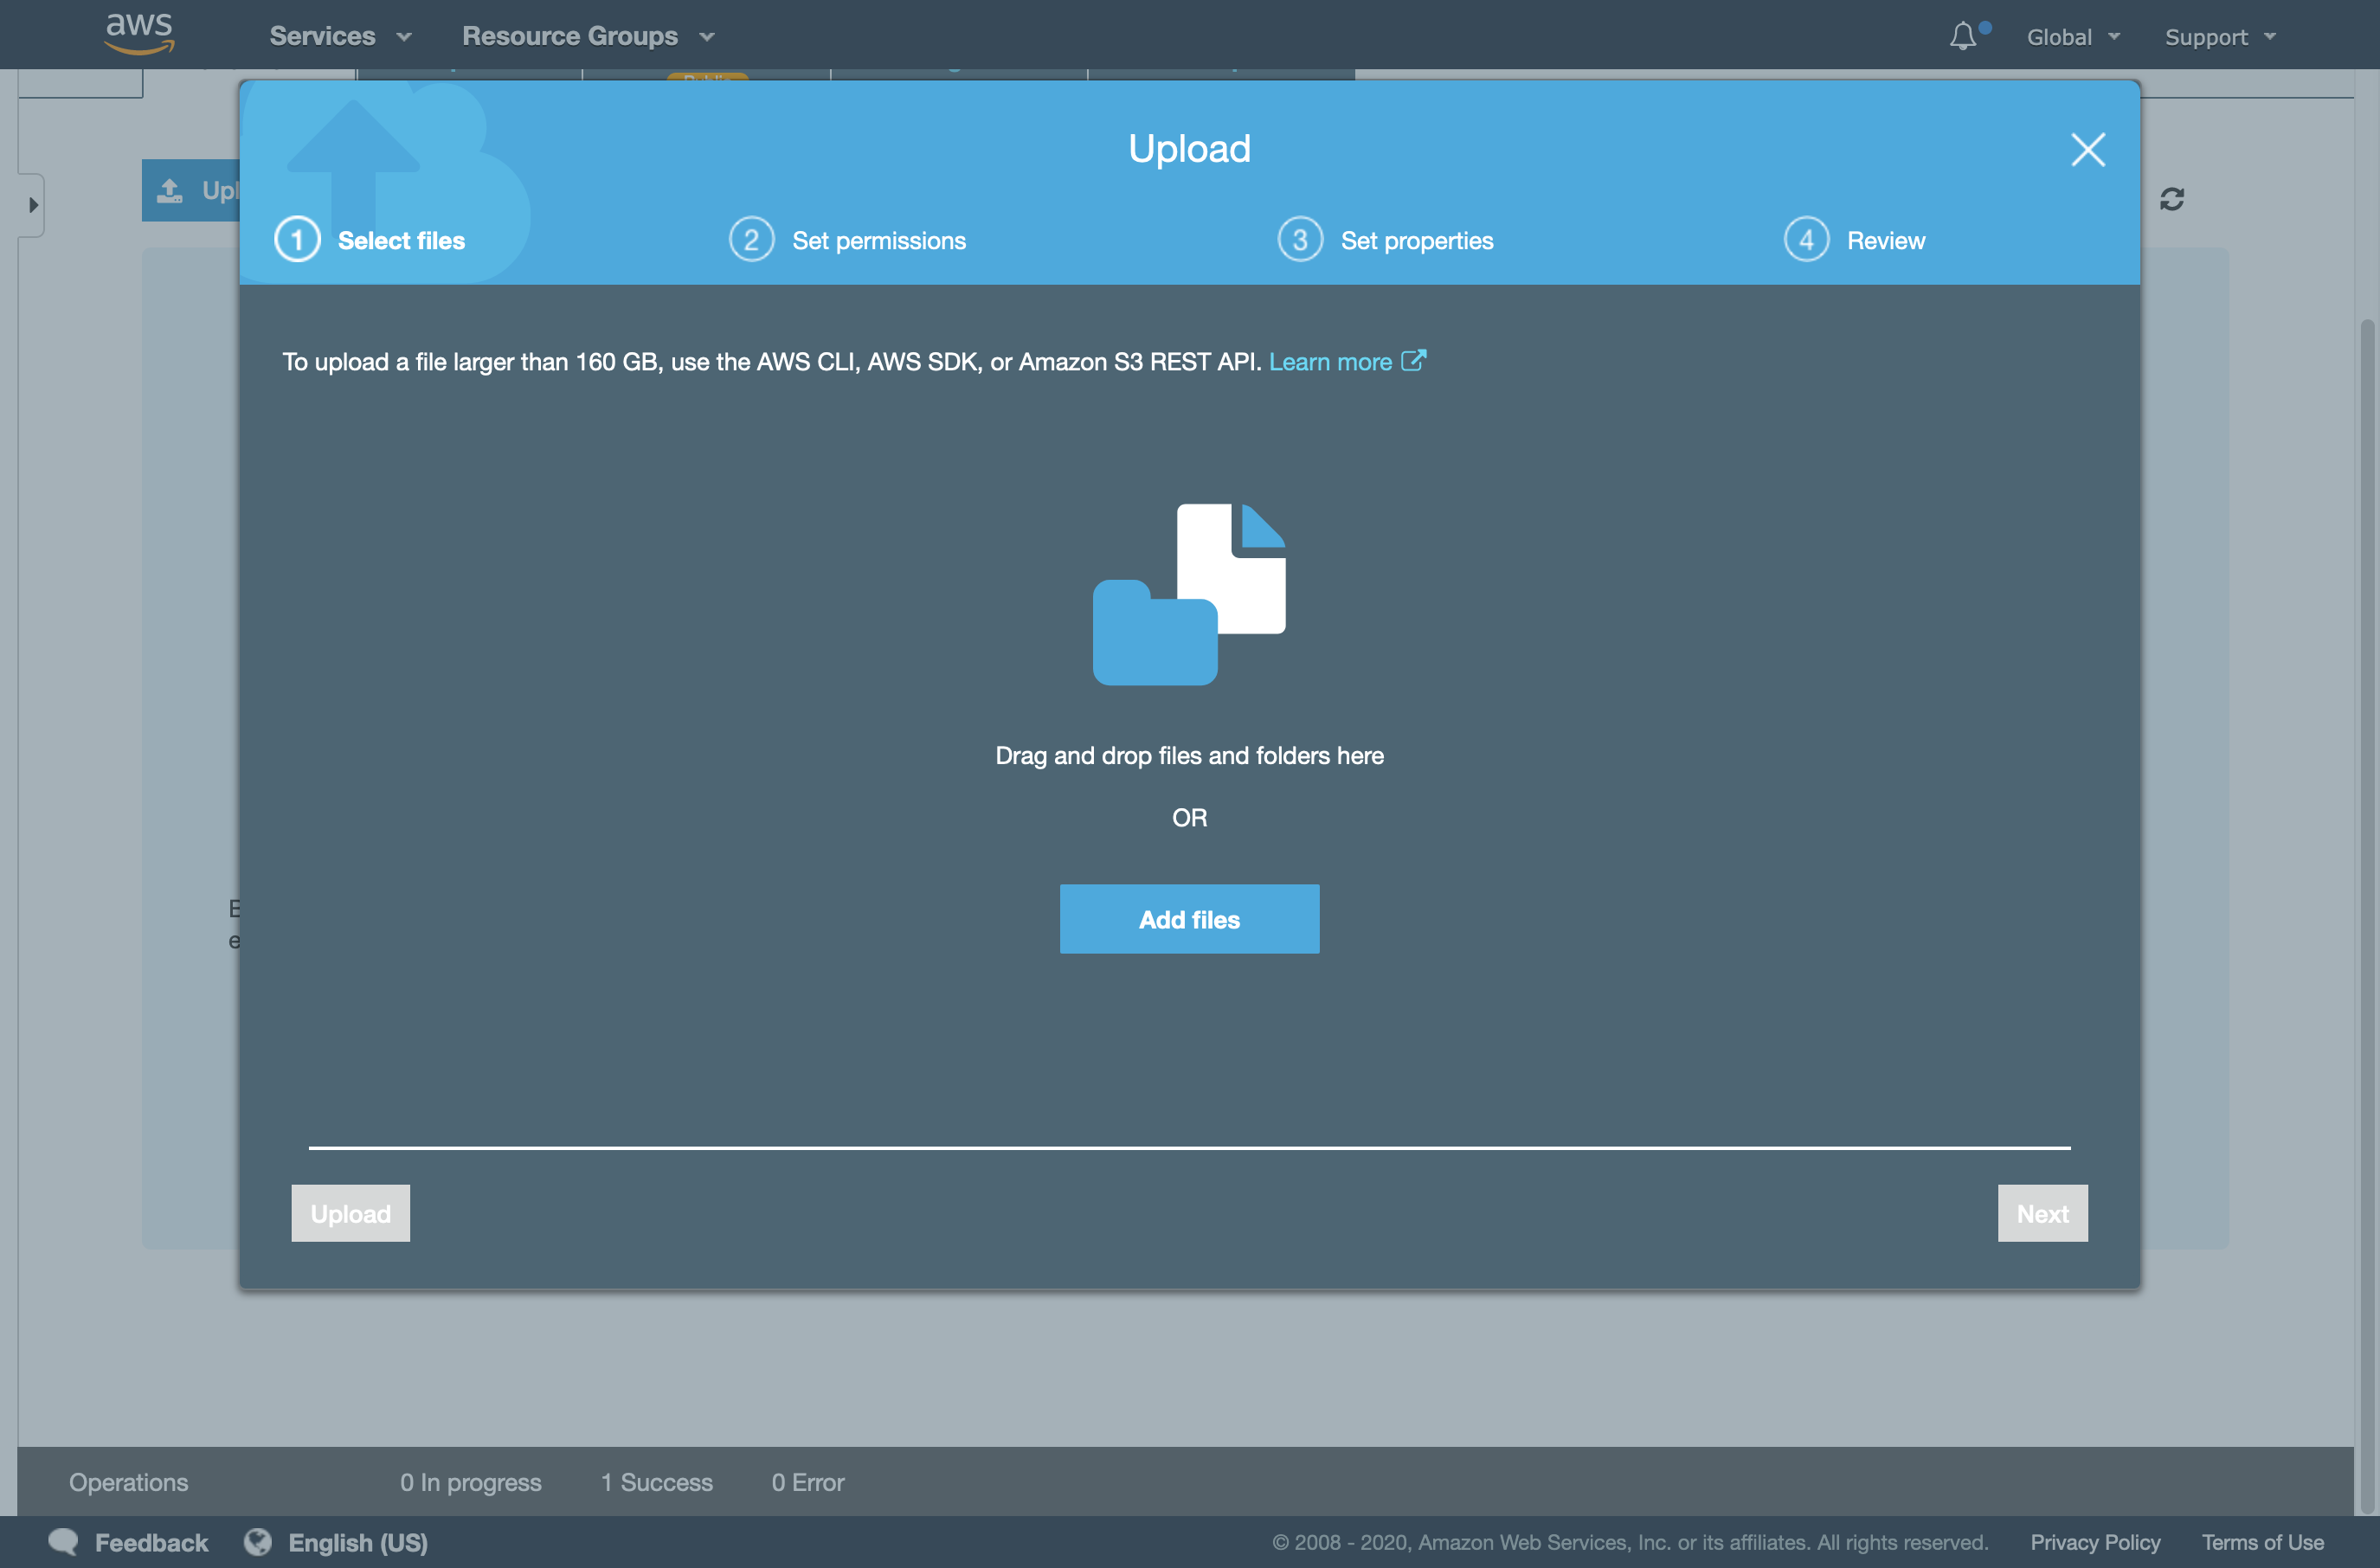 S3 files upload
- Make sure grant public read access to the uploaded files in the permissions tab.
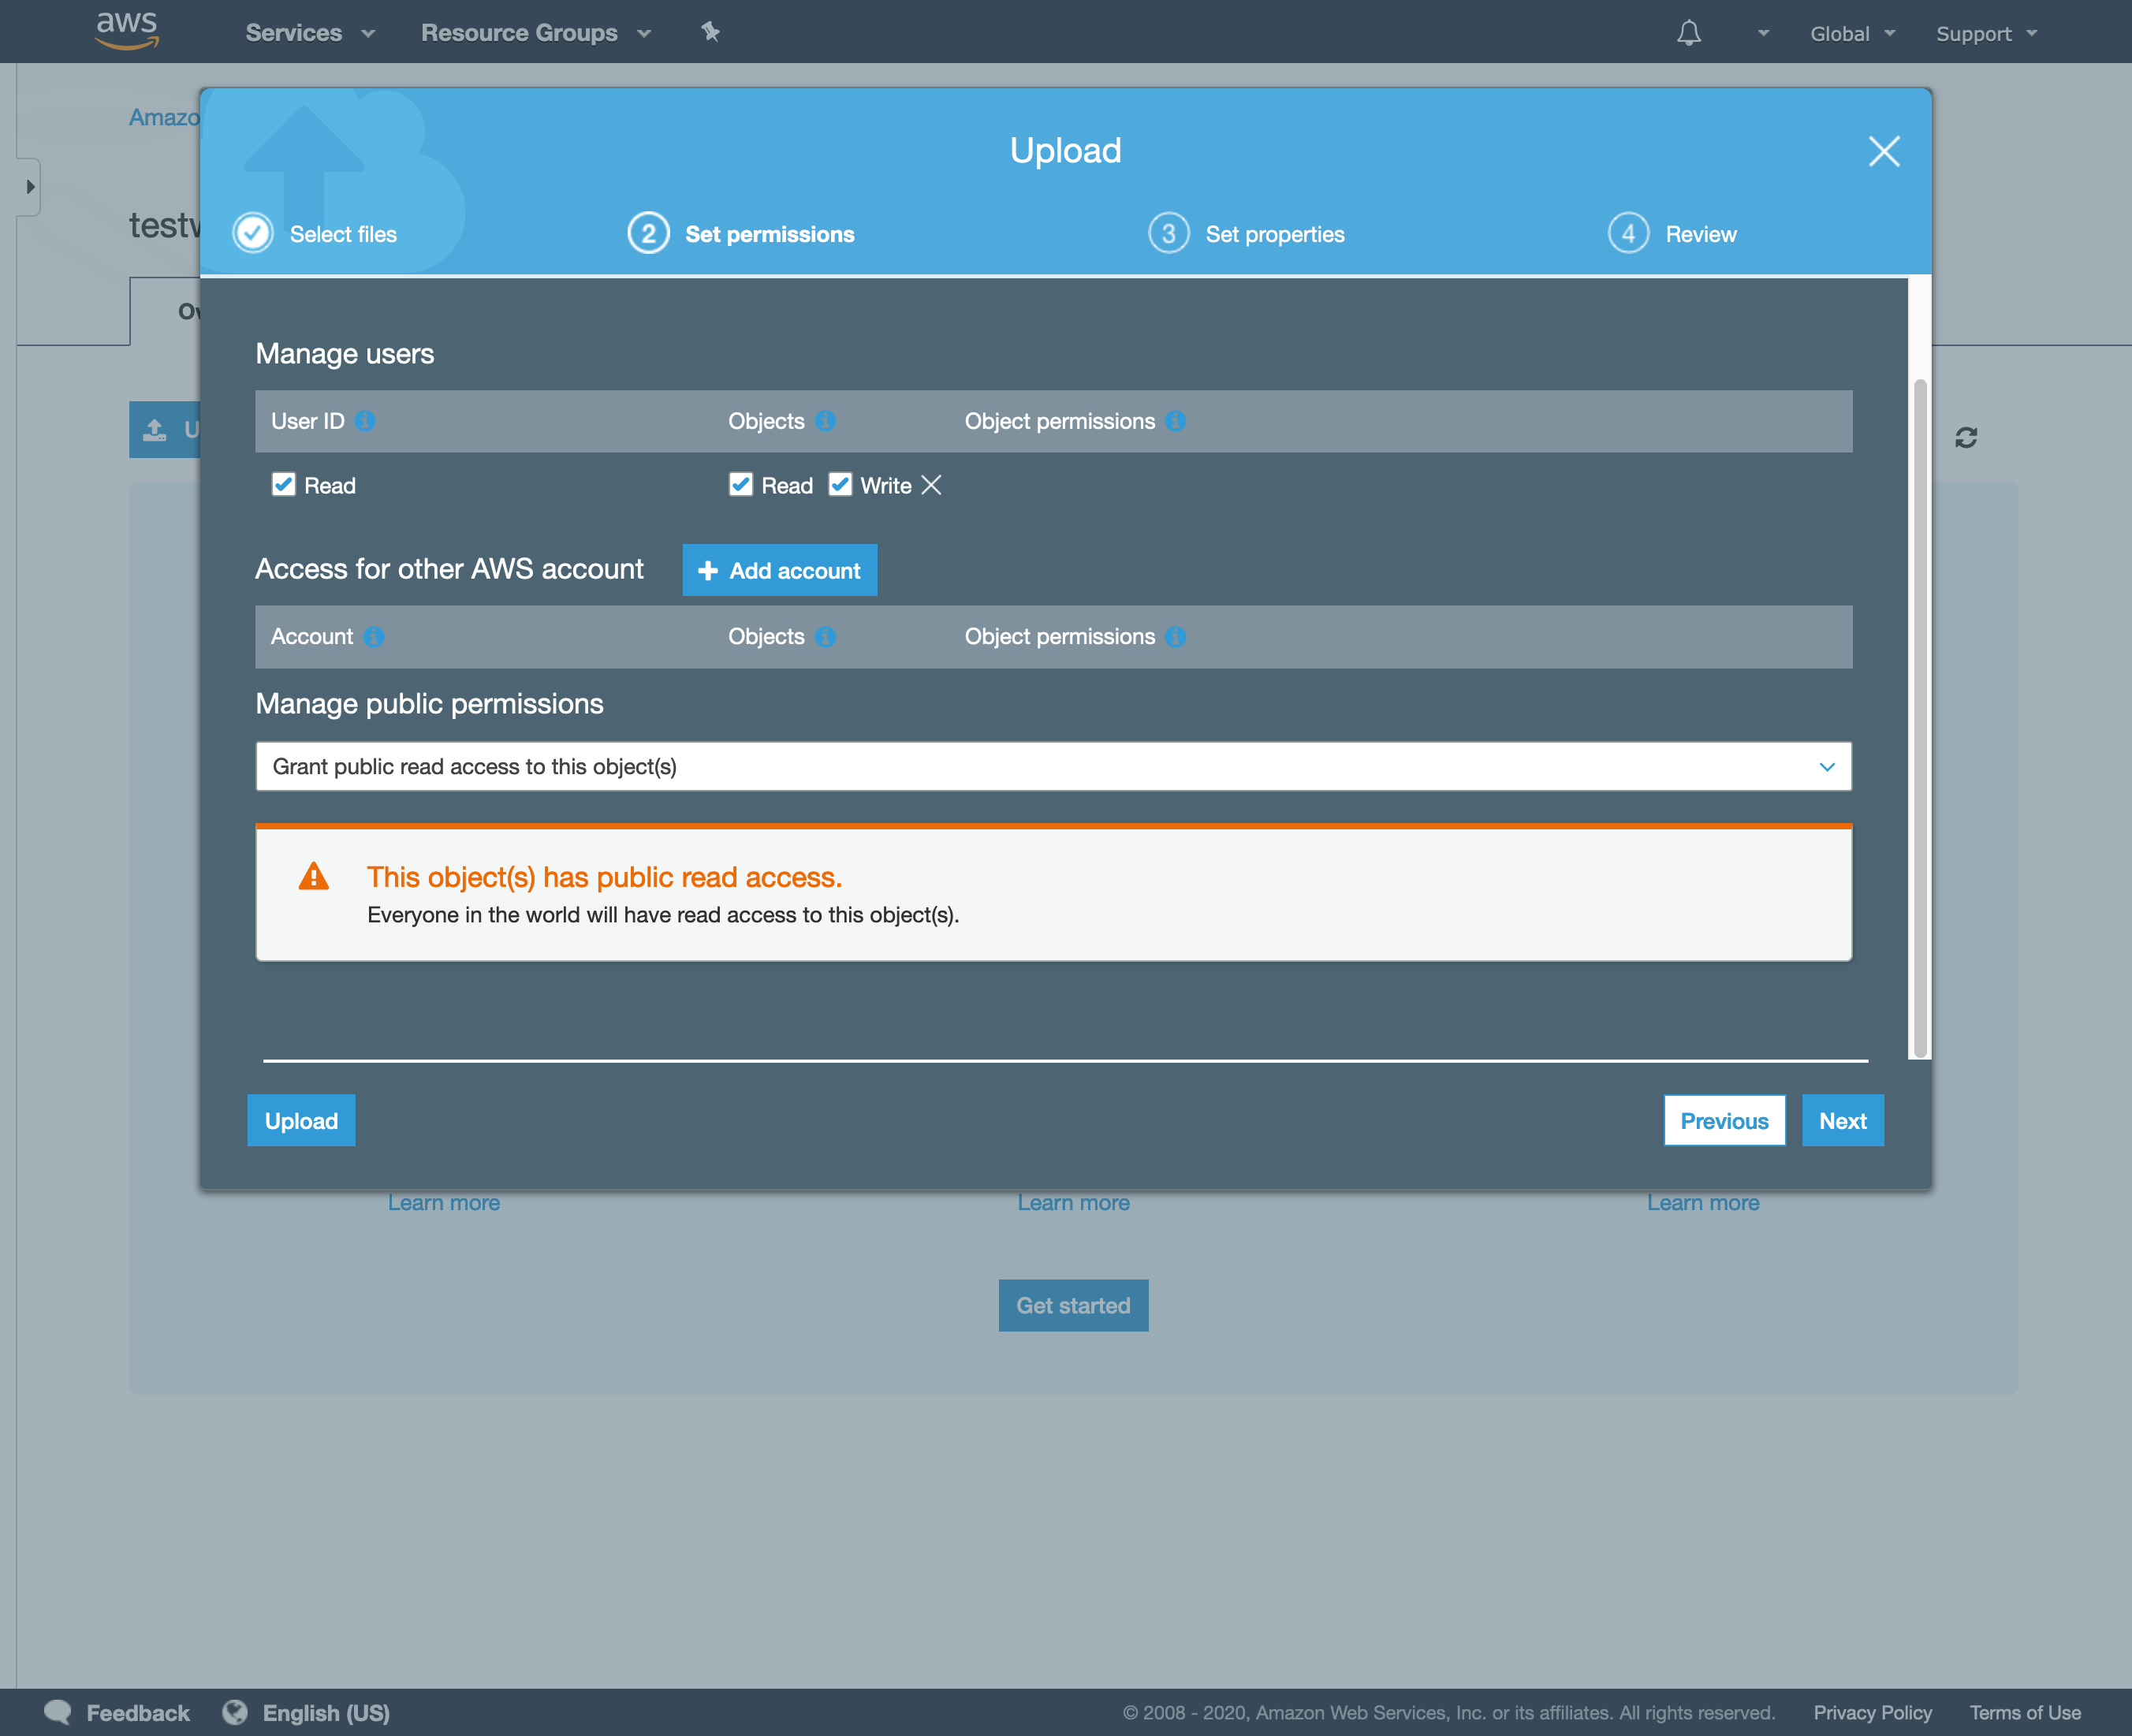 S3 files upload permissions
Note
While you can easily upload your website files directly in the browser by clicking on Upload in the bucket settings page, it’s preferred to use AWS CLI, specially if when you are uploading large websites.Install AWS Command Line Interface
-
MS Windows
- Download and install the official installation file
- Install using Chocolatey windows package manager
choco install awscli
-
Gnu/Linux
- Normally, you will fine AWS CLI package available in your distribution software repositories, in that case you can simply use your package manager to install it directly. ex:
apt install awscli - If that’s not the case, you can install it manually by executing these commands in your terminal in their respective order.
- Normally, you will fine AWS CLI package available in your distribution software repositories, in that case you can simply use your package manager to install it directly. ex:
Linux x86 (64-bit)
curl "https://awscli.amazonaws.com/awscli-exe-linux-x86_64.zip" -o "awscliv2.zip"
unzip awscliv2.zip
sudo ./aws/install
Linux ARM
curl "https://awscli.amazonaws.com/awscli-exe-linux-aarch64.zip" -o "awscliv2.zip"
unzip awscliv2.zip
sudo ./aws/install
- macOS
- Install using Homebrew package manager.
brew install awscli
- Install using Homebrew package manager.
Upload using AWS CLI
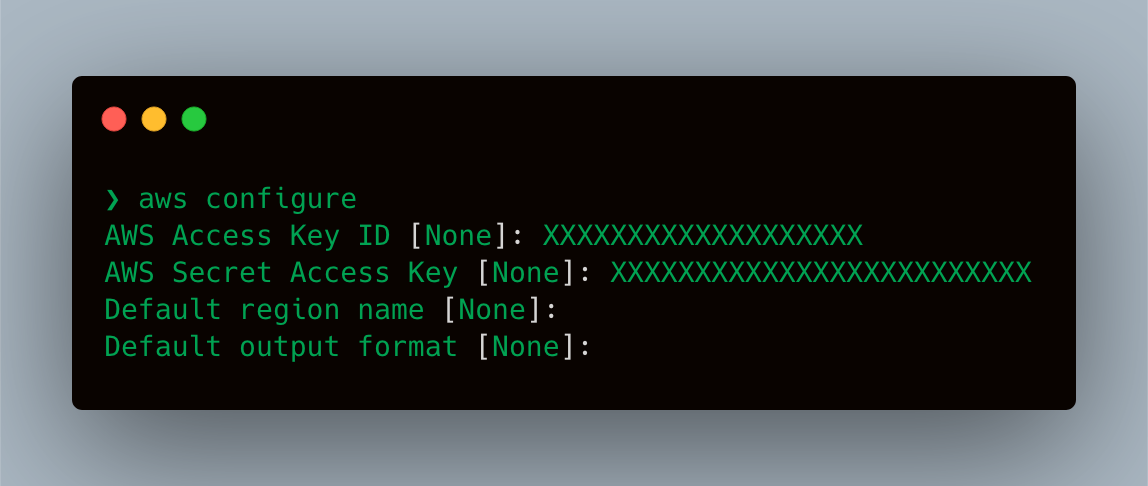
- First, you should configure
awscliand grant it access to your AWS account, for that you will need to get your AWS Access Key ID and Secret Access Key, you can create new Access Keys by going to AWS IAM (Identity and Access Management) Dashboard.
Alert
Make sure to store the generated keys securely and don’t share them over unsecured medium, the keys can be used to gain access to your AWS account data.awscli configure
-
ِMove to the website local directory.
-
Upload your files by executing replace [bucket-name] with the name of the bucket you created on S3
aws s3 sync . s3://[bucket-name]/
Now you can test your new static mirror, you’ll find the website URL in bucket settings > Properties > Static website hosting
 Find the configured URL for your website here
Note
Note that the provided URL here is http://mystaticwebsitetest.s3-website.us-east-2.amazonaws.com can only be accessed on plain-text HTTP protocol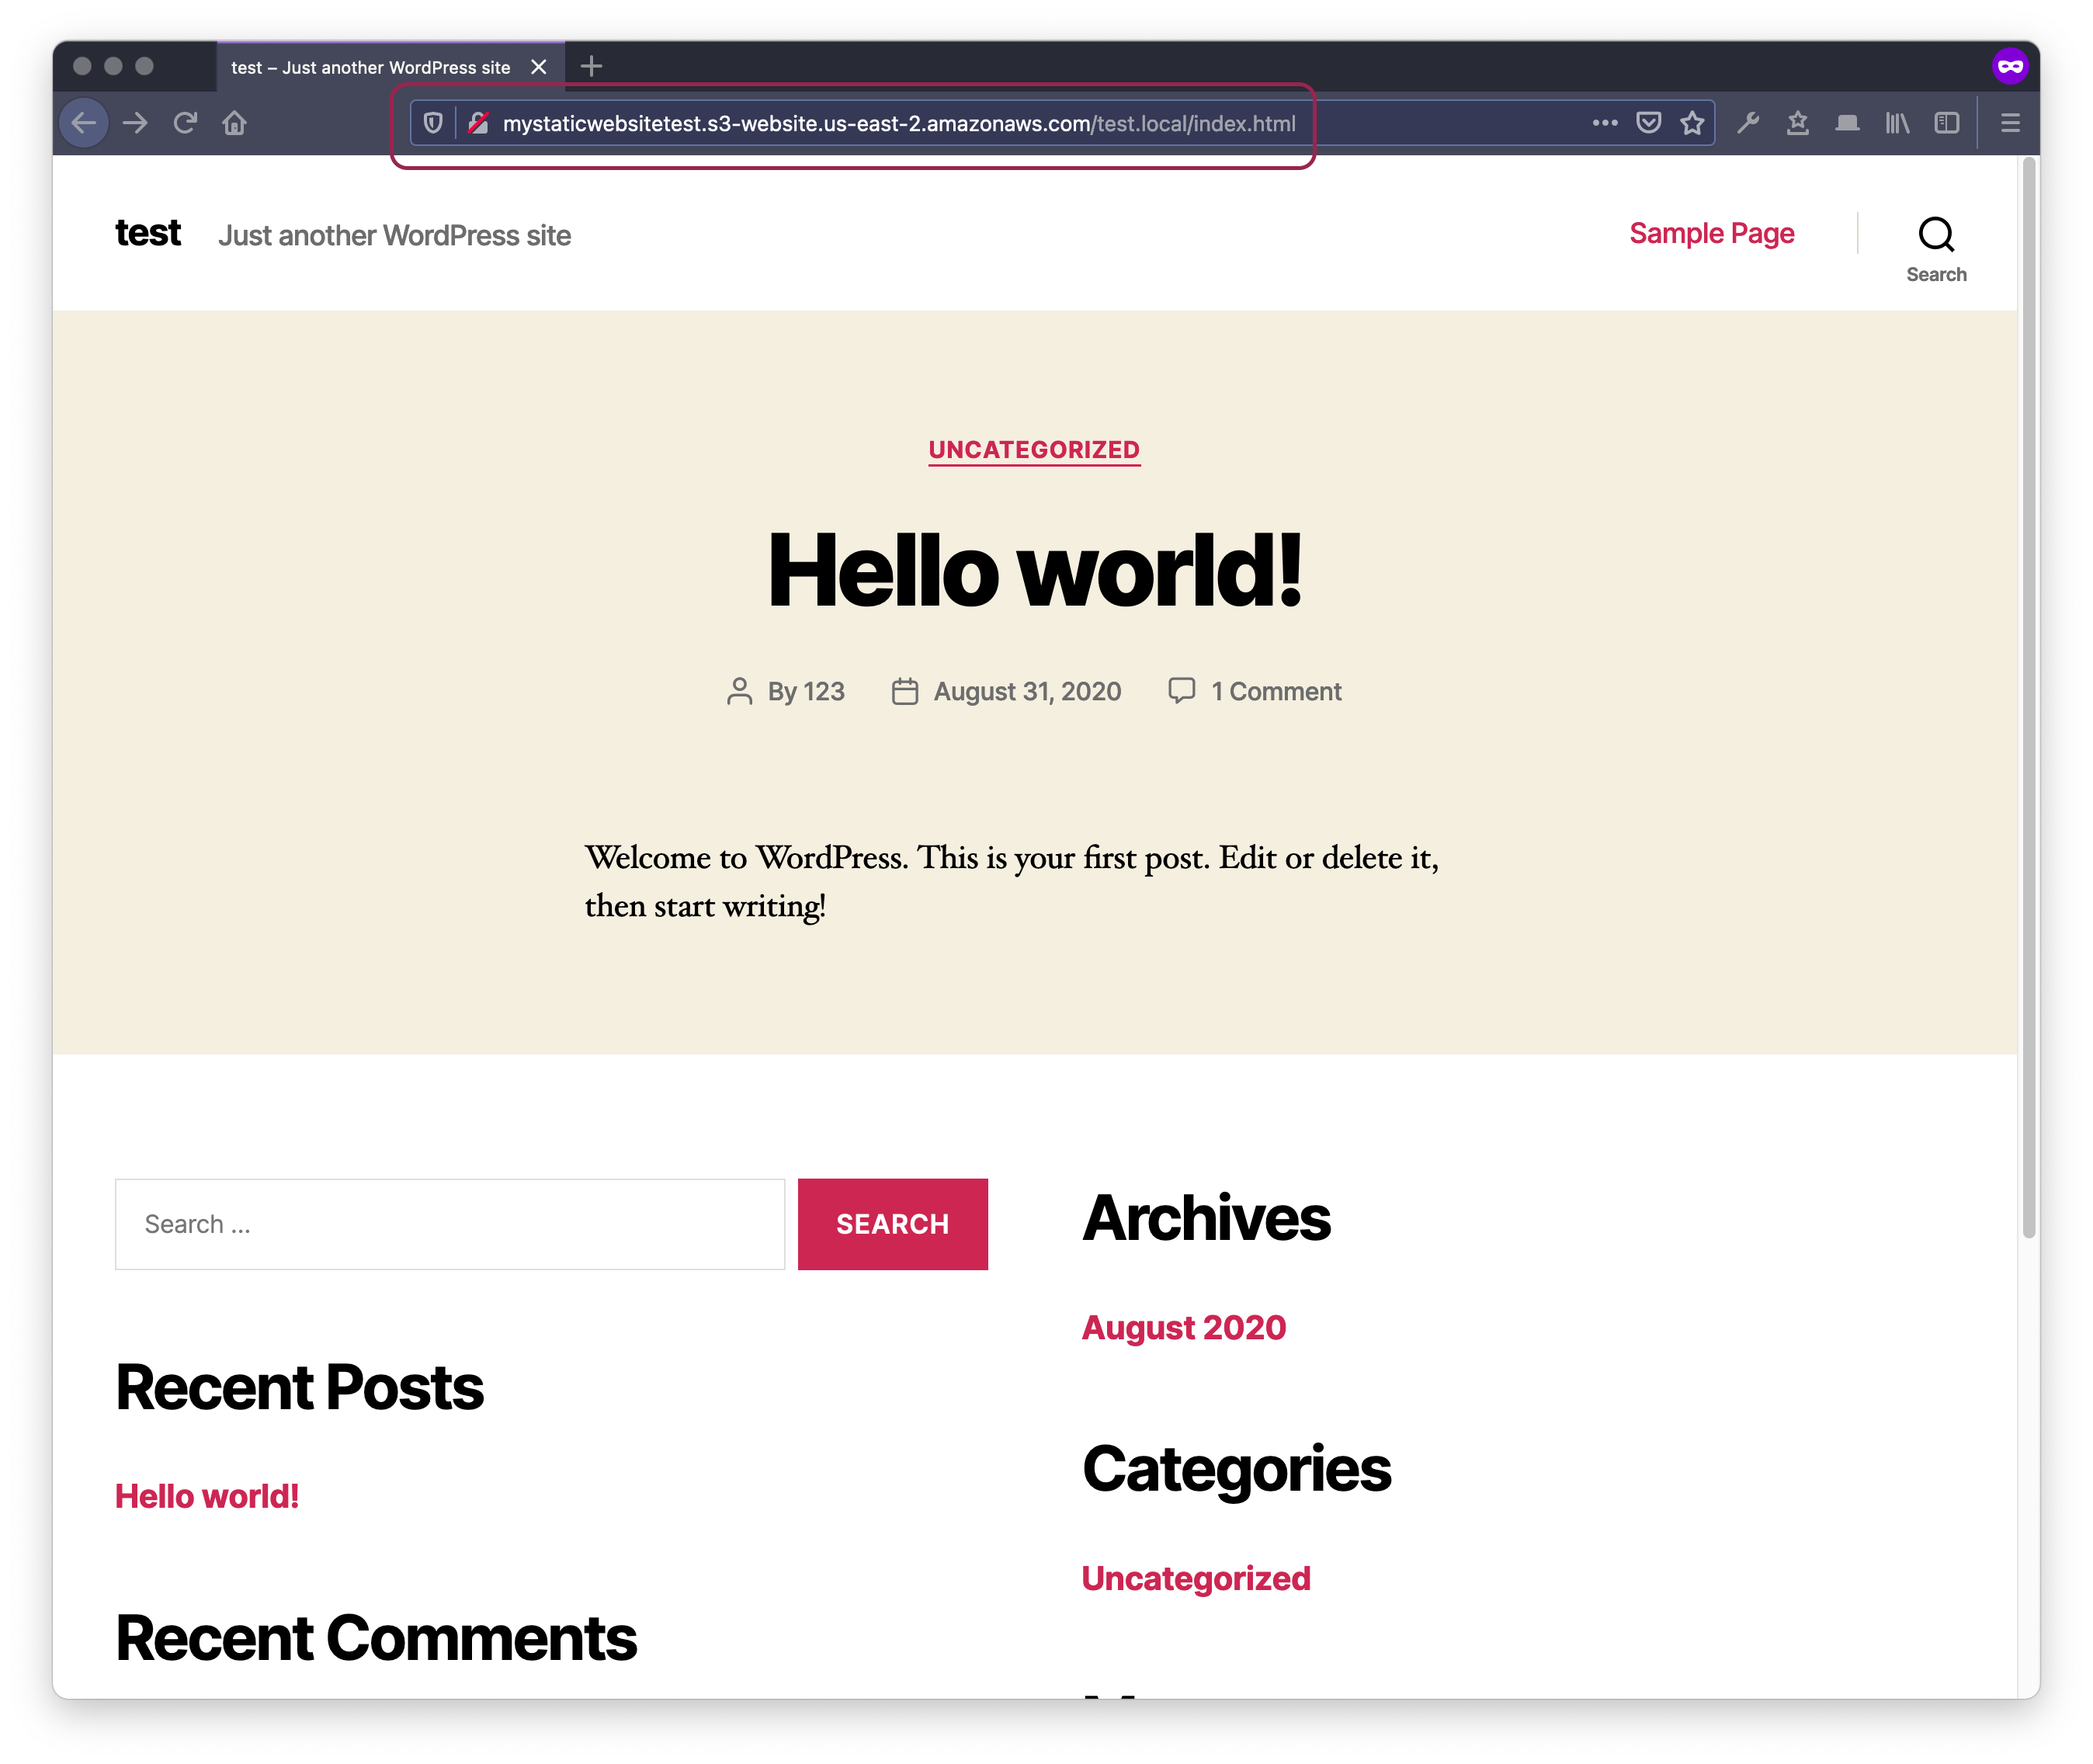
Now, there are two different URL structures which allows accessing your static website on the secure protocol HTTPS
- Bucket name as a sub-domain
https://[mystaticwebsitetest].s3.us-east-2.amazonaws.com
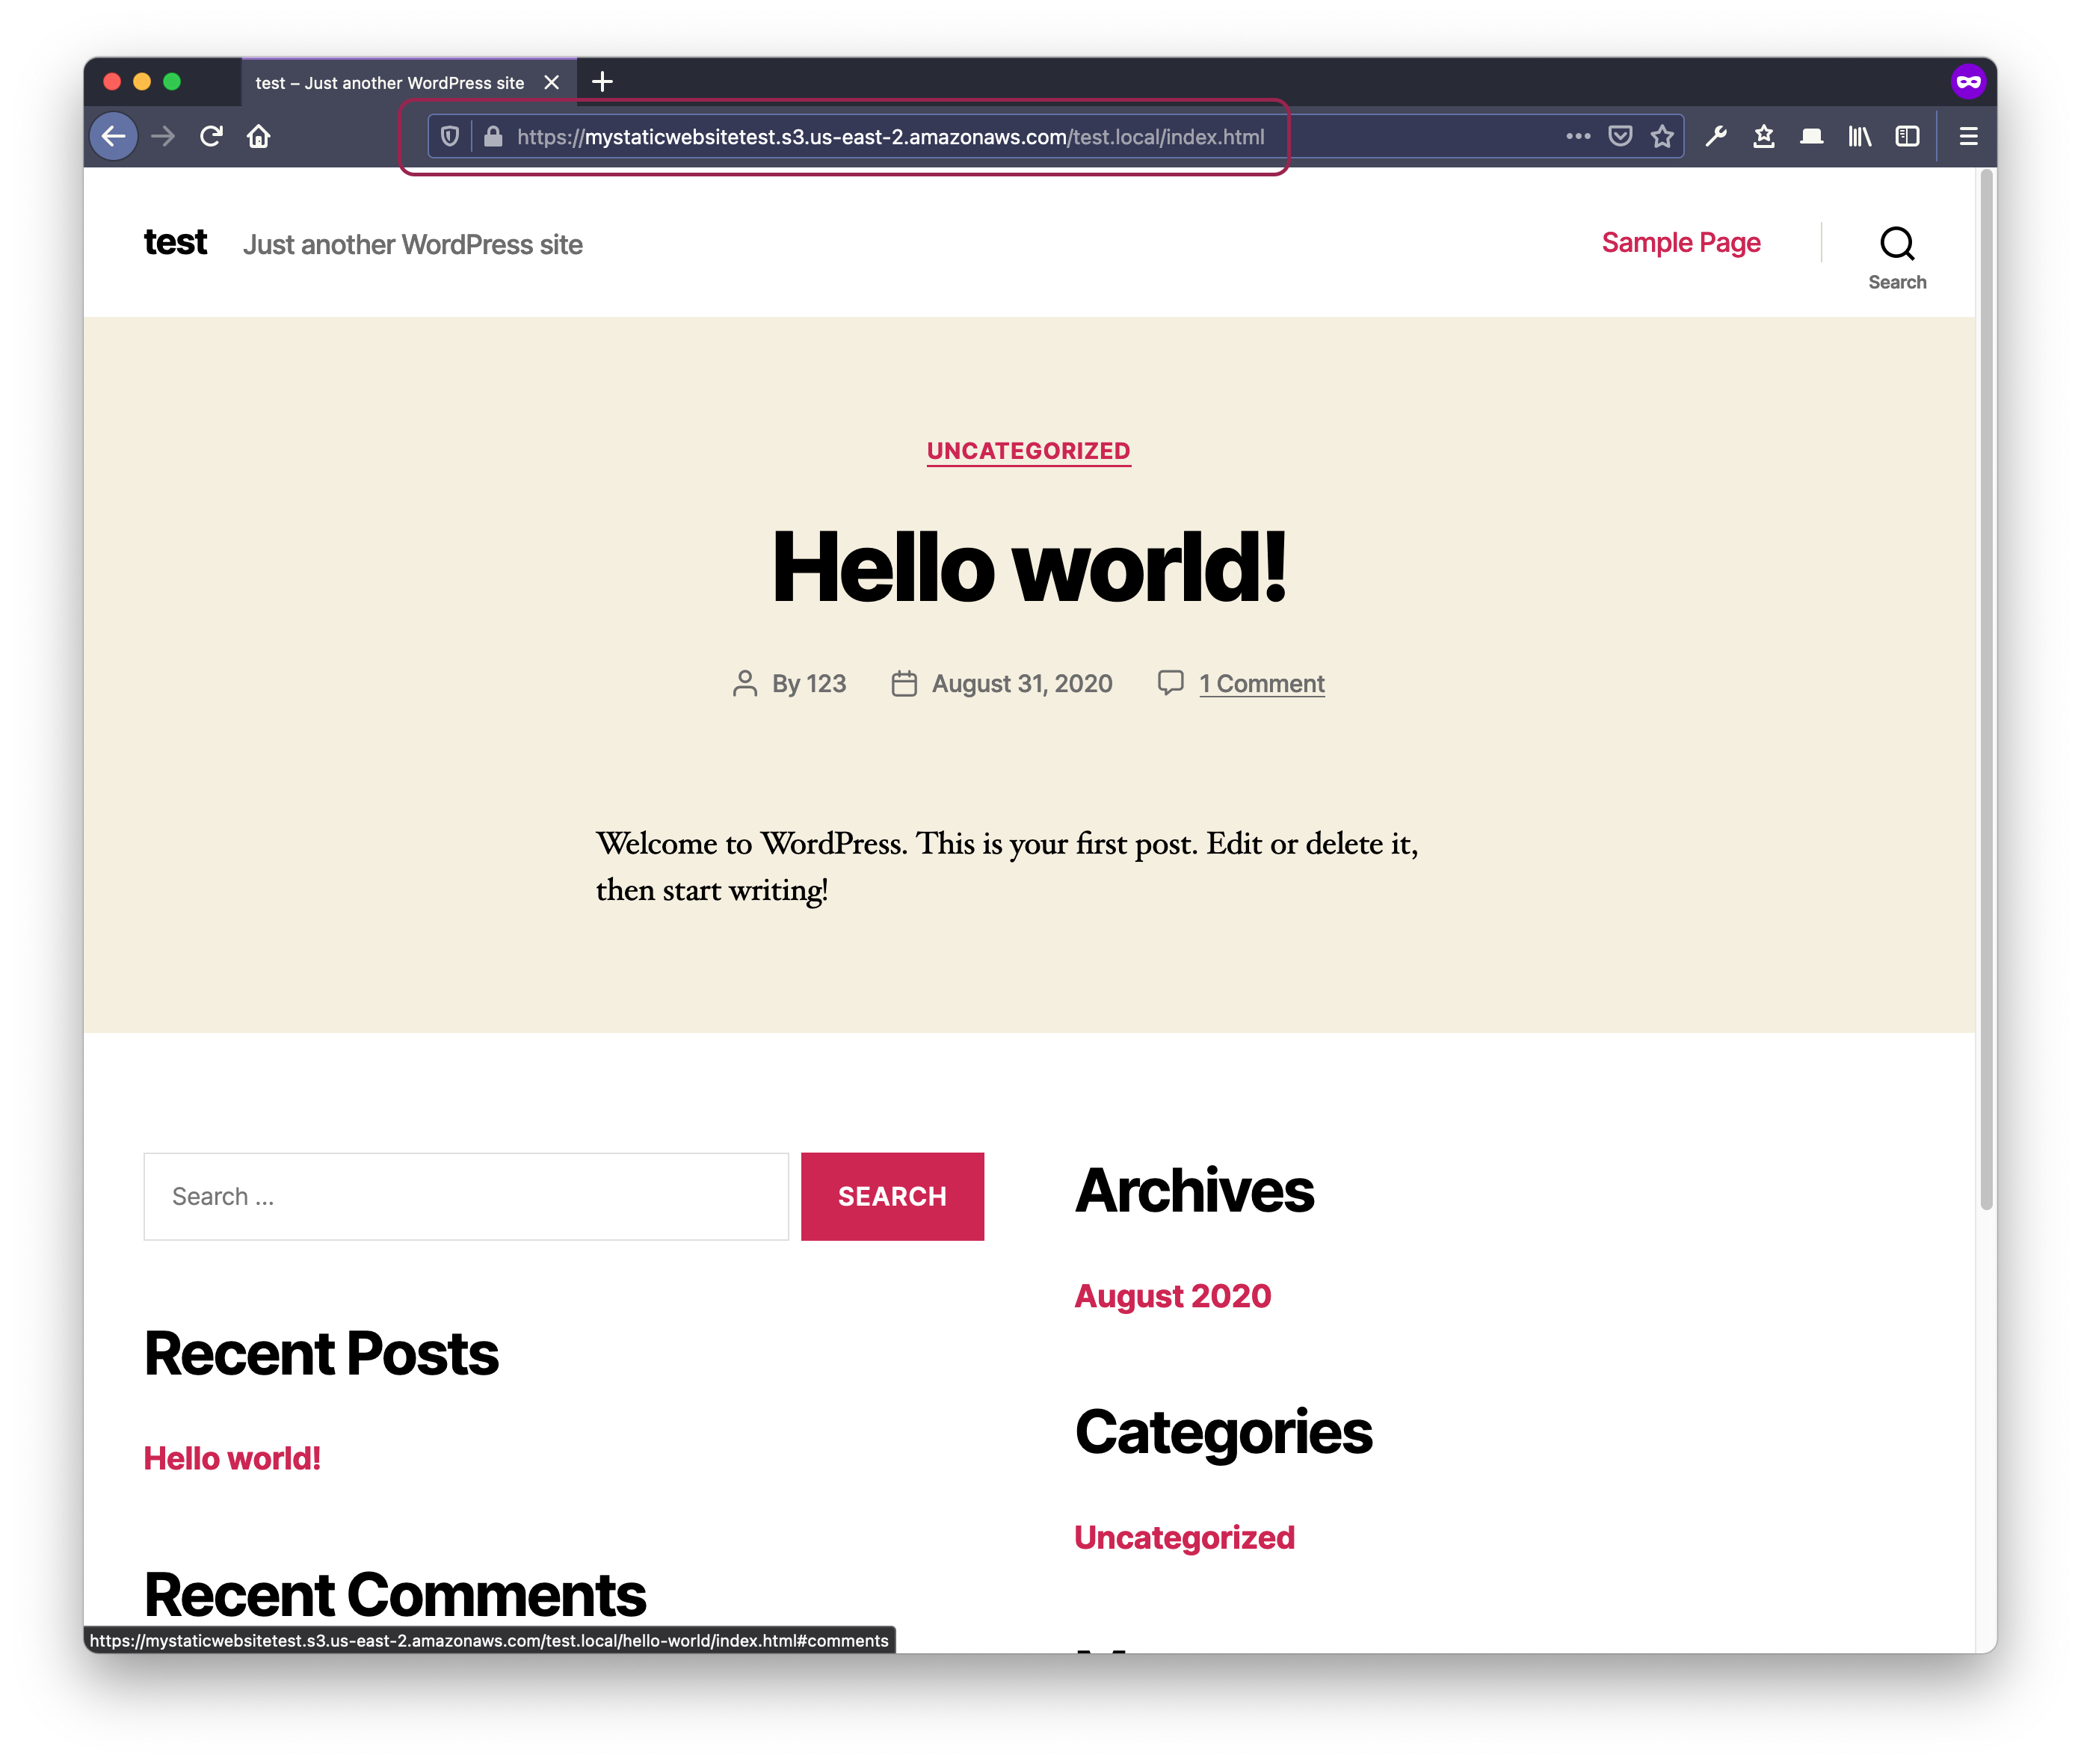
- Bucket name in the path
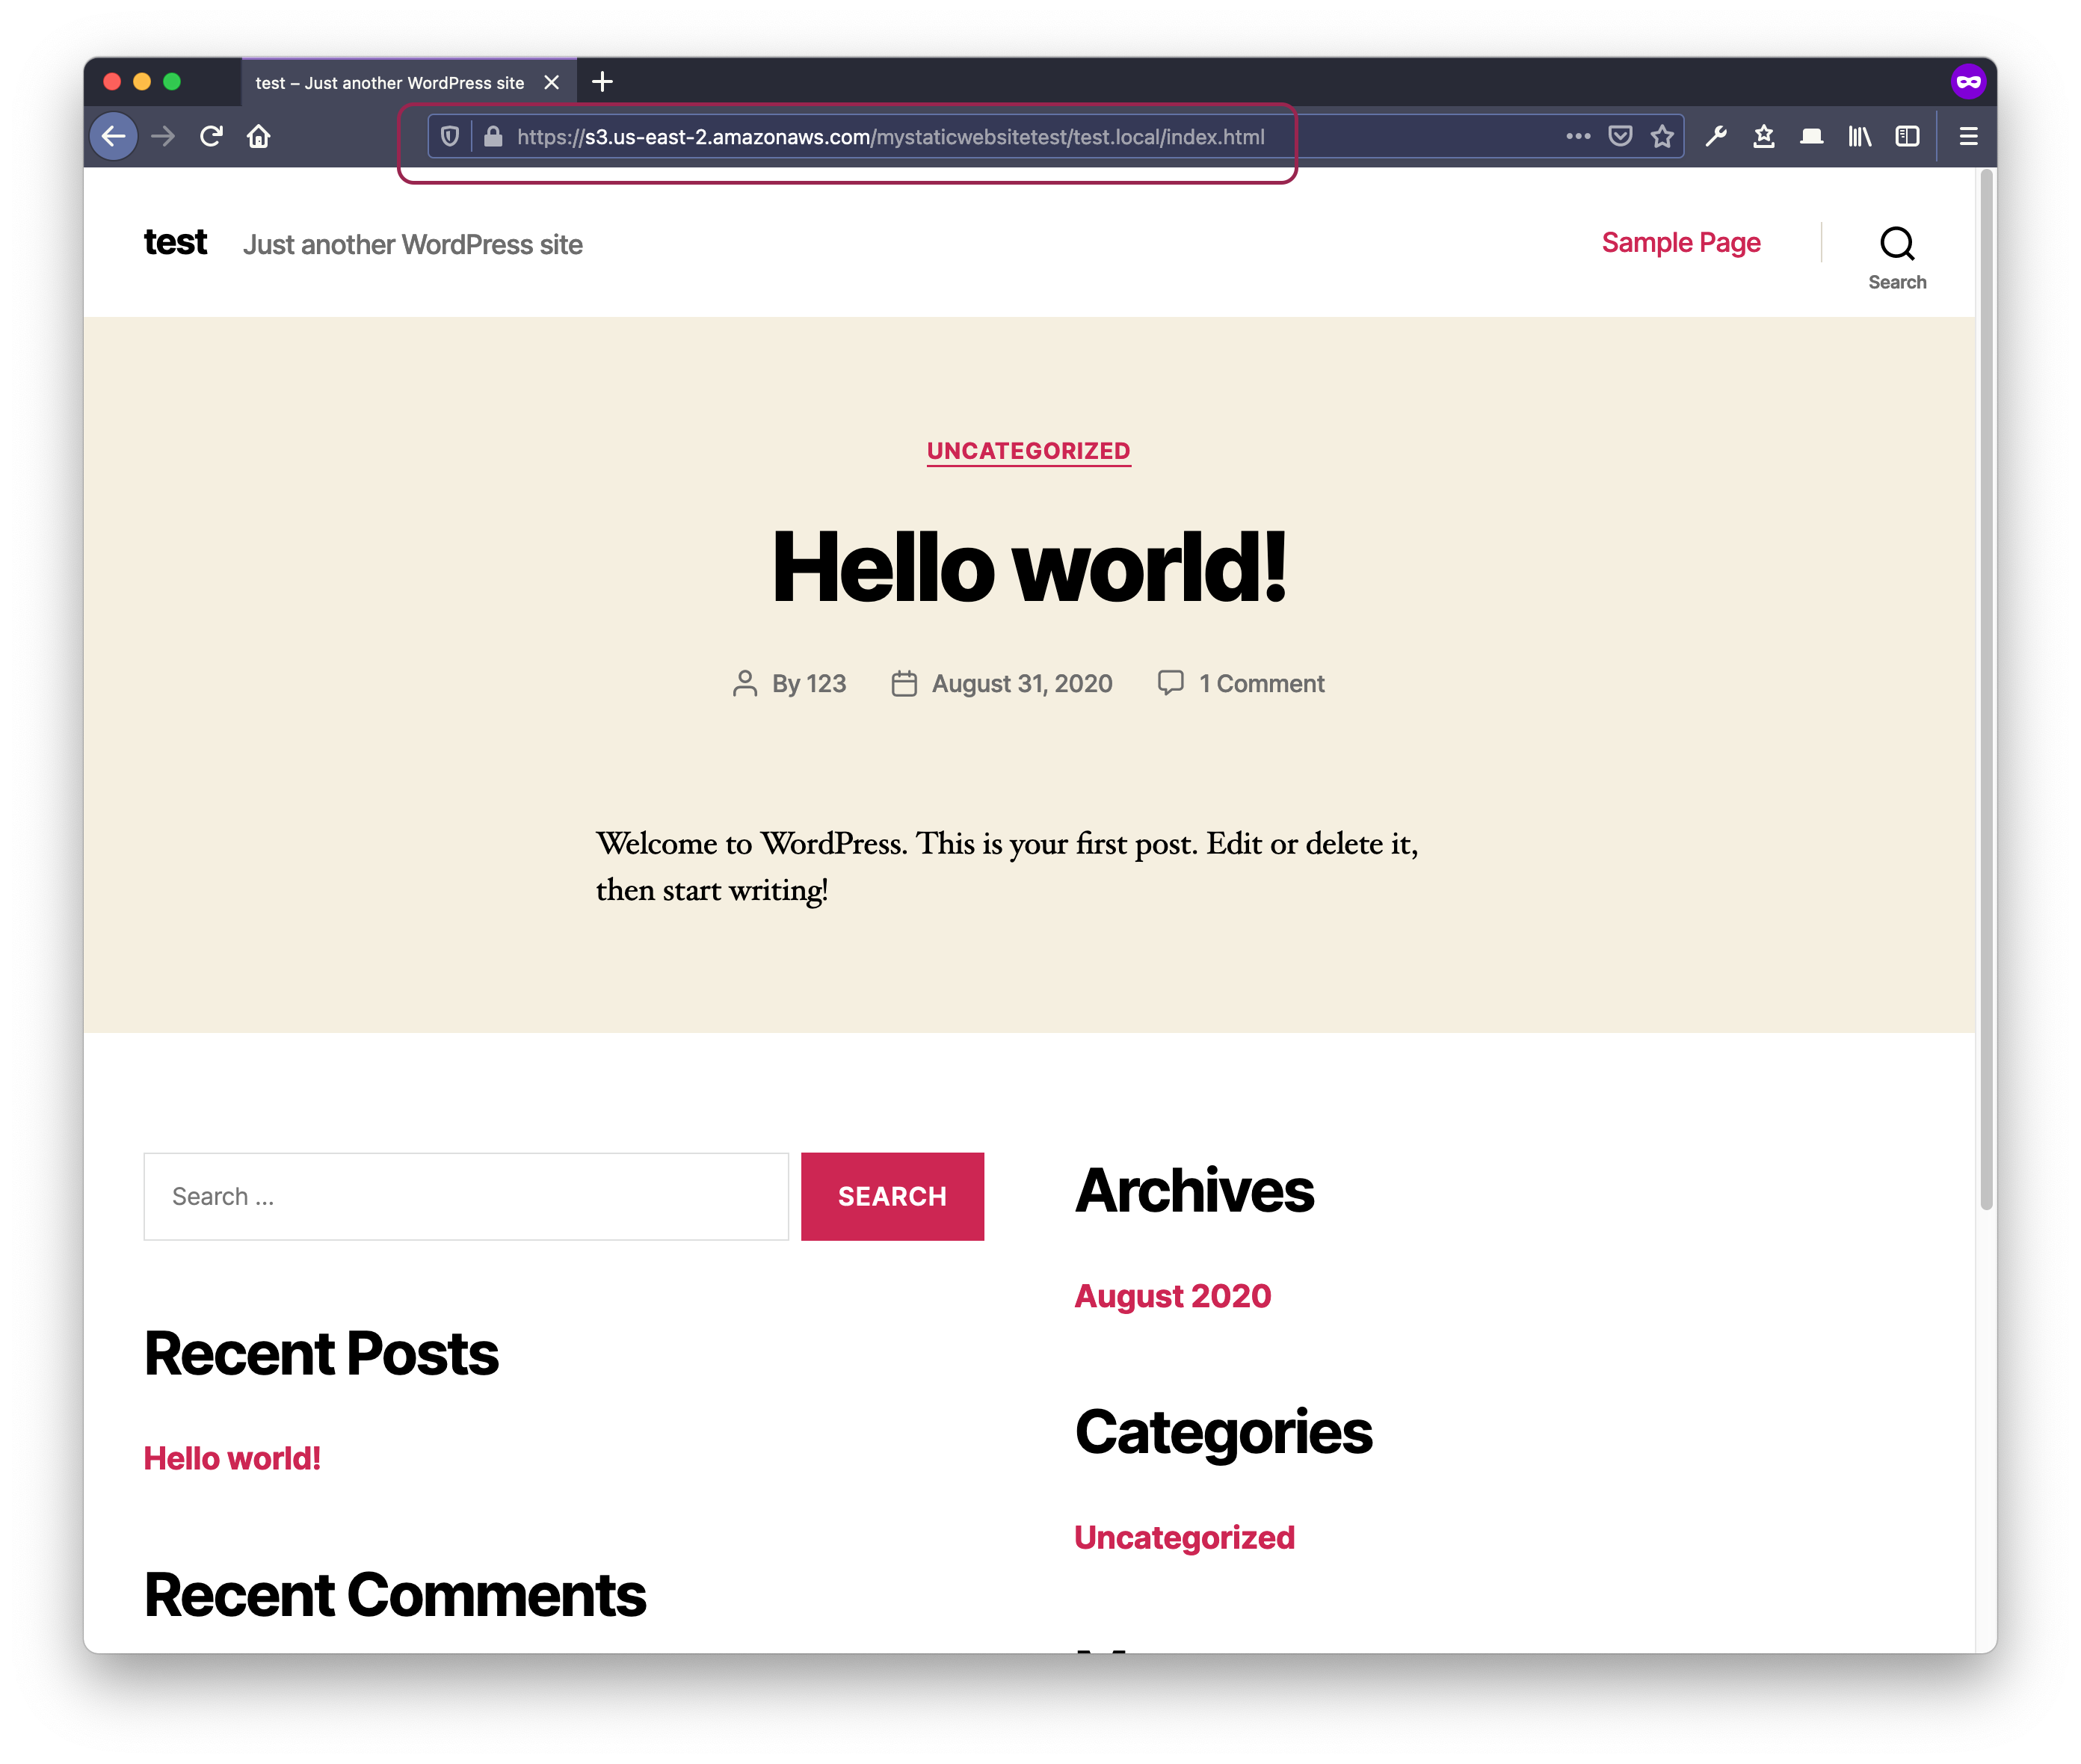
https://s3.us-east-2.amazonaws.com/[mystaticwebsitetest]
Note
While both methods may achieve same results, it’s preferred in censorship circumvention context to include the bucket name in the path as in method number 2.
AWS uses a Wildcard SSL certificate which supports any sub-domain under *.s3.us-east-2.amazonaws.com, but defining the bucket name in the URL path would make it more difficult to detect traffic to this particular bucket/region/endpoint through Deep Packet Inspection(DPI)